2017
pm
How VHS Tape Damage Occurs and Ways to Prevent It Written by: Cora Foley

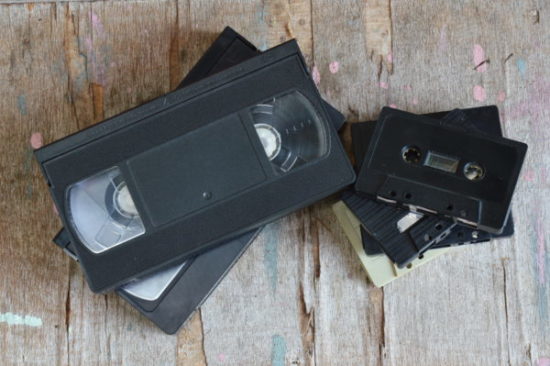
Unfortunately, we can guarantee that your videotapes will deteriorate over time, regardless of how you store them and how carefully you handle them. VHS, VHS-C, 8mm, Hi-8, MiniDV & Betamax tapes degrade quickly, as they were never meant to be long term video storage solutions. In fact, magnetic tapes begin to deteriorate in as little as 5 years after they are recorded. The only way to ensure that your precious home video footage doesn’t fade away is to transfer your camcorder and VHS tapes to digital service or DVD as soon as possible.
“The only way to truly protect and save your home video footage is to have your videotapes digitized right away.”
While you’ll want to digitize your home videos right away to ensure their safety and longevity, some people decide to put it on the back burner or want to preserve their original videotapes after they’ve been transferred. This article explains a variety of factors that contribute to the decay of magnetic videotapes like VHS, VHS-C, 8mm, Hi-8, MiniDV & Betamax, and how you can store and care for them to reduce future videotape degradation.
What Causes Video Tape Decay?
1. Demagnetization
Demagnetization is the process in which magnetic charge is removed. Magnetic particles are what stores information on a videotape. Particles can become demagnetized as a results of being too close to a strong magnet, being exposed to extreme heat and as a result of time. Demagnetization severely affects the videotape transfer quality.
2. Humidity
The binder layer of video tapes is the part that comes in direct contact with the playing machine. This layer can absorb water causing it to become sticky (known as sticky shed syndrome). This renders the tape unplayable and can severely damage a machine if you attempt to play an affected video tape.
Humidity can also encourages fungus growth. Any outside particles can cause information loss from tapes. If you have fungus on any tapes take it to a professional to have it cleaned before attempting to play the tape. Tape cleaning is included with every video transfer order with Smooth Photo Scanning Services.
3. Remanence Decay
This occurs over time as magnetic particles lose their charge. As the particles lose their charge the color of the film becomes weaker, distorting the color of the digital transfer.
4. Frequent Use
Every time you play a video tape some loss of quality or information occurs. While it is not noticeable at first, overtime the quality of the video lessens. The less you play a videotape the better the quality.
5. Old Machinery
Poorly maintained or old machinery can collect dust and dirt. This can lead to scratches, wear and tear on the binder layer, loss of magnetic charge. These all lead to lost of information.
How Should I Store & Care for My Videotapes to Slow the Rate of Decay?
- Store your VHS, VHS-C, 8mm, Hi8, MiniDV and Betamax tapes in a cool environment. It is preferable that tapes be stored around 60-70 degrees F. If the location is too cold or hot this can cause unnecessary damage to the video tapes.
- Make sure your video tapes are stored in a dry environment. A humidity level of about 30-40% is recommended to prevent sticky shed syndrome from occurring.
- Avoid temperature and humidity swings. Extreme changes can cause increased deterioration.
- Store the videotapes in sealed, dust & dirt fee containers to keep the elements out and help protect them from being dropped or bumped.
Videotape Transfer Output Quality
When transferring any type of videotape to digital format, the output quality is dependent upon the quality of the original source. Typically you can expect the quality of the digital version to be equal or slightly better than the tape it was transferred from. The following are some common errors or distortions that may occur during the playback of a video transfer from a poor quality tape:
1. Pinking/Greening
This is an error where the top 10 percent of the image seen on screen flickers pink and/or green. This is normally seen on tapes that were made on inexpensive VCRs with misaligned heads or only two heads.
2. Clear-Water Effect
This is an error where parts of the video on screen are wiggling, resembling ripples in clear shallow water. This is caused from timing errors on the analog video tape and cannot be corrected by software.
3. Vertical Jitter
The timing of the videotape is corrupted. Often times we can stabilize the video using a TBC filter (Time Based Correction), which is standard with all of our video transfers.
4. Horizontal Jitter
This error is normally seen on copies of copies of copies, about 10 generations later. Not much can be done to correct this.
5. Static Lines
These are glitches seen on screen caused by the tape particles coming off the tape, leaving little static lines behind. This is most often seen on tapes that have been re-used several times or on inexpensive tapes recorded in S-VHS-ET mode.
6. Color Bleeding
This is caused by general decay of the tape over time. This can be slightly corrected by de-saturating the video and lightening the gamma though the use of filters within the video transfer software.
Summary
The only way to truly preserve your precious home video footage is to transfer camcorder tapes and VHS tapes to digital format or DVDs. While there are video restoration services available, it is never guaranteed that all footage can be recovered or quality restored. Plus, the cost to restore damaged videotape footage is extremely expensive!
Don’t risk losing your precious memories forever, convert all of your home videos to digital format or DVD as soon as possible. For high quality and affordable videotape to digital or DVD transfer services, contat Smooth Photo Scanning Services.


