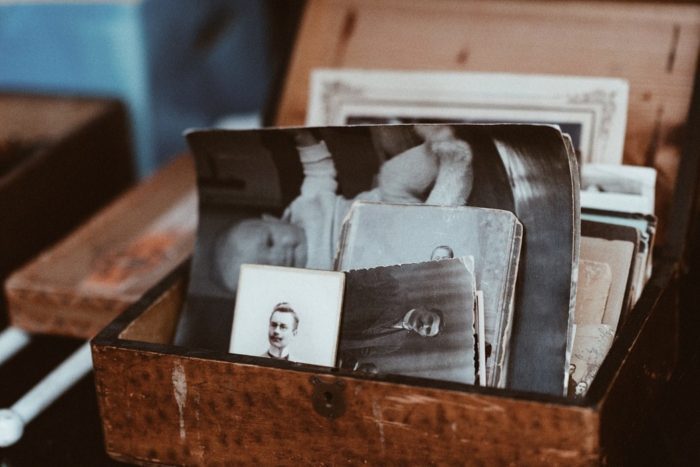
Finding old photos or photo albums in your parents’ or grandparents’ home can feel like uncovering a long-lost treasure chest. Old family photos tell stories of your family’s history and have a sentimental value that you can’t put a price tag on. No matter how faded or torn those photos are, they hold meaning and significance.
However, preserving family photos physically over long periods of time is not an easy task. They are vulnerable to degradation, discoloration, fading, and decay. Scanning photos and restoring photo prints digitally is the best way to secure your old family photos and keep them well-preserved for generations to come.
Here are some best ways for scanning and restoring digital photos:
Organizing Your Photos
The first thing you need to do is gather your photo collection and decide what pictures you want to scan and how you want them digitally organized. You can group batches of pictures by year, event, people, etc., and create a digital folder for each batch named by the label. Depending on how well your collection is currently organized, it may be easier to just scan everything as is and organize the digital files after they are scanned.
For photo album scanning you’ll want to remove the photos from their sleeves. If you have magnetic photo albums (the ones where the photos are glued onto the pages and covered with plastic), you’ll have to remove each photo carefully in order not to damage them. For stuck pictures that won’t come off the page or for scrapbook scanning, you can always scan each entire page and crop the individual photos out later.
Cleaning Your Photos
When you’re going through photos or just before you scan them, it’s a good idea to clean the surface of each one so that dirt, dust, or other debris doesn’t show up on the images. Compressed air should get rid of most buildup and you can use a lint-free cloth to wipe off the rest. Try not to touch the pictures with your fingers so fingerprints aren’t captured during scanning.
Digitizing Your Photos
Whether your photos are in mint condition or faded and cracked, the most important step in making sure your captured moments are backed up and protected is to digitize them. You can do photo album scanning yourself at home or use a professional company to do it for you. Once your photos are scanned, digital photo restoration offers endless possibilities when it comes to making them look their best.
Resolution
Depending on what you plan to do with your digital images will determine the best resolution for you to scan them at. Digitizing old photos at 300 DPI is perfect for viewing on electronic devices and for making prints that are the same size as the original. If you want to blow up the pictures to print at larger sizes, then you’ll want to scan them at 600 DPI or higher.
Editing Your Scanned Photos
When scanning old photos, you may notice that your pictures have faded or degraded in some way. They could be too light, too dark, have color casts, or physical damage like stains or scratches.
Fortunately, with the help of photo editing software, you can make some simple edits on your own to make the images look even better. As a best practice, it’s a good idea to make a backup of your scanned images and do the editing on a saved copy (in case you mess anything up by accident).
- Depending on the scanner you use, your digitized photos may have a border around them and will not be perfectly straight. Cropping and de-skewing your images can be done easily using any photo editing program and are worth the extra effort.
- Most scanned pictures will benefit from auto-corrections and auto-enhancements. Adjusting the color, contrast, exposure, and removing red-eye can be done simply by clicking a button.
- When it comes to removing creases, stains, blemishes, or other touch-ups, you will require professional photo editing software such as Photoshop or Corel Photopaint. For important photos that are severely damaged, you might want to consider using a digital photo restoration company.
While digitizing photo albums at home might be easy enough if you don’t have that many, scanning hundreds or even thousands of photographs can be quite an investment, more so in time than anything else. If you don’t have a good photo scanner, you’ll have to purchase one. You’ll then have to learn to use it along with the software to get the best results. After you start scanning a few pictures you’ll quickly realize that the process is very slow and tedious. Editing them afterward or doing your own digital photo restoration service is a whole other story.
When it comes to digitizing photographs in bulk, the best option for most people is to use a professional scanning service. They have specialized equipment, software, and procedures in place to produce much better results than you can get doing it yourself. You’ll also likely end up spending less money and way less time by leaving it to the experts.