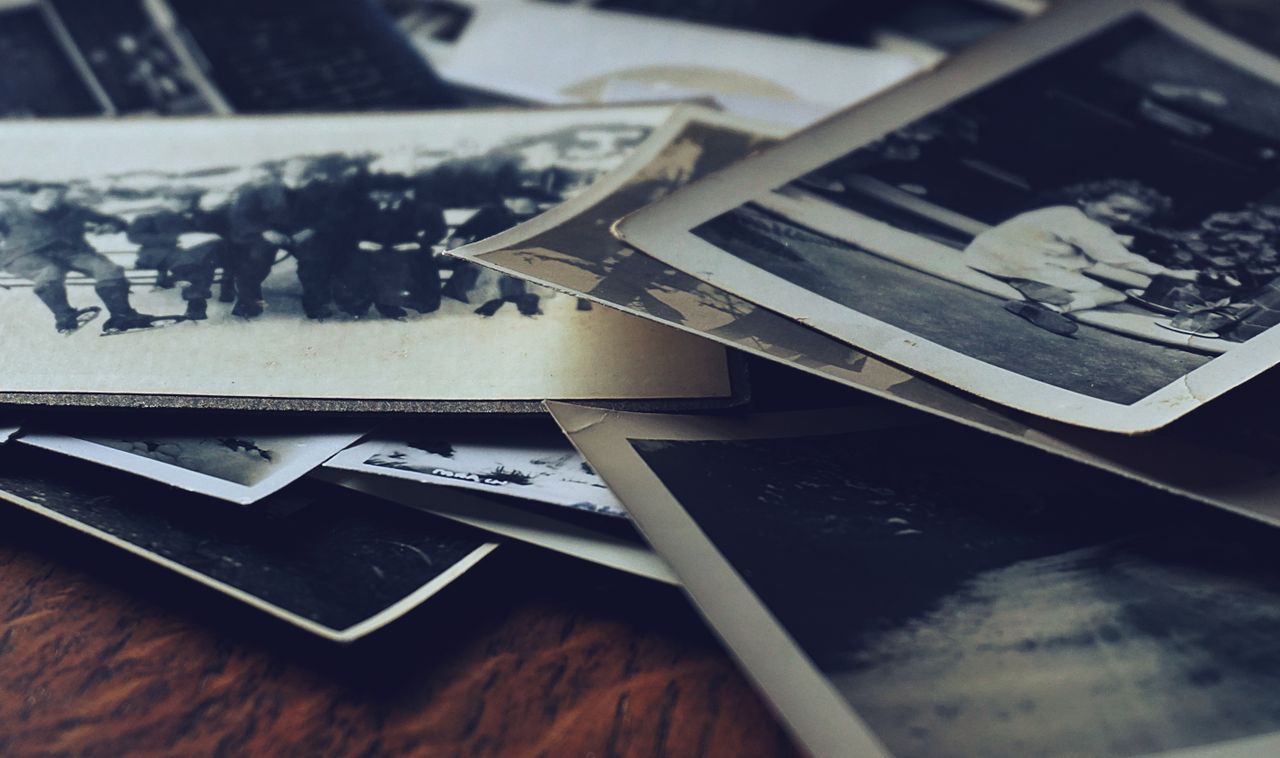
Flip over almost any old family photo and you'll find something. A date in your grandmother's careful cursive. A name scrawled in pencil. A location, a joke, sometimes a whole paragraph. That handwriting is half the memory. Lose it, and you're left with a face but no story.
If you're planning to digitize a family collection, the back of each photo deserves the same care as the front. To preserve handwriting on photos, you need both sides scanned, linked, and saved together.
Our photo scanning services at Smooth Photo Scanning handle this routinely, but it's worth knowing what the process involves and what your options are at home.
Here's how to scan both sides of old photos the right way, whether you DIY or send them out, plus how to keep the front and back connected forever.
Why Back-of-Photo Notes Are Historically and Emotionally Valuable?
The handwriting on the back is often the only context you'll ever get. Without it, a wedding photo is just two people in formal wear.
With it, you know it's "Aunt Ruth and Uncle Joe, June 1957, the day before he shipped out." A few reasons back-of-photo notes matter more than people realize:
- They identify people, places, dates, and events that no living relative may remember
- They preserve handwriting from family members who have passed
- They carry inside jokes, nicknames, and tone that show personality
- They sometimes contain notes from the photographer or original recipient
Genealogists, archivists, and family historians treat these notes as primary source material. If you scan back of photos along with the fronts, you're capturing the document, not just the image. Future generations will thank you for it.
DIY Method: Scanning Both Sides at Home
You can absolutely scan both sides of old photos yourself. The question is whether the time investment makes sense for your collection size. Here's the basic workflow:
- Place the photo face-down on your flatbed scanner first
- Scan the back at 300 to 600 DPI
- Flip the photo and scan the front at matching resolution
- Name the pair with linked filenames (more on this below)
- Store both files together in the same folder
A few honest limitations to keep in mind:
- A flatbed scanner handles about 30 to 60 photos per hour, doubled if you're doing both sides
- Pencil writing often comes out too faint without adjustments
- Faded ink on the back may need brightness, contrast, and sharpening tweaks
- Glossy photo backs can pick up glare from the scanner lid
For a shoebox of 200 photos with writing on the back, you're looking at six to ten hours of hands-on work.
For a closet full of albums, it becomes a months-long project. That's usually the point where people decide professional photo scanning front and back makes more sense than DIY.
Professional Dual-Side Scanning: How the Process Works
When you send your collection out for photo scanning front and back, the process is built around speed, consistency, and detail recovery.
At Smooth Photo Scanning, we've spent over 25 years scanning millions of photos, so the back-of-photo workflow is dialed in. Here's what happens behind the scenes:
- Each photo is inspected and any handwriting on the back is noted before scanning
- High-resolution scans are made of both sides at matching DPI
- Pencil marks and faded ink are enhanced during post-processing
- Cropping, rotating, color correction, and dust removal are applied to both sides
- Front and back files are linked through naming and folder structure
- Originals are returned in the same condition they arrived
Professional equipment catches details a flatbed scanner misses. Faint pencil lines, smudged ink, and writing that has bled through can become legible again.
If you want to preserve handwriting on photos that has nearly faded away, that recovery work matters.
If you'd like to take your digital photo collection a step further, you can also organise your scanned files with a consistent naming system and metadata. The following tips are optional DIY steps you can use after receiving your scans and are not part of Smooth Photo Scanning's service.
Linking Front and Back Images With Consistent File Naming
A scanned back is useless if you can't tell which front it belongs to. The fix is a simple, consistent naming system applied across your whole collection. Common pairing formats look like this:
- Smith_001_front.jpg and Smith_001_back.jpg
- 1957_Wedding_001a.jpg and 1957_Wedding_001b.jpg
- Album1_p3_photo2_front.jpg and Album1_p3_photo2_back.jpg
What matters is consistency, not the exact format. Pick one and use it everywhere. When you scan both sides of old photos and name them in pairs, sorting by filename automatically keeps each pair together.
A few practical tips include:
- Use leading zeros so files sort correctly (001, 002, 003 instead of 1, 2, 3)
- Avoid spaces, slashes, and special characters in filenames
- Keep the year or album name in the filename when possible
- Document your naming system in a README file inside the main folder
Using Metadata to Embed Back-of-Photo Text Into the Digital File
This is the step most people skip, and it's the one that makes the biggest long-term difference.
Metadata embeds the handwritten text directly into the digital file, so it's searchable and stays with the image forever. Most photo software supports a few key metadata fields:
- Title: the names of people in the photo
- Description: the full handwritten note, typed out exactly as written
- Date: the date from the back of the photo
- Location: where the photo was taken
- Keywords: family branch, event type, decade, location, and other tags
Once metadata is embedded, you can search "Aunt Ruth 1957" and pull up every relevant photo instantly. Programs like Adobe Bridge, Lightroom, and free options like digiKam handle this well.
It's the cleanest way to preserve handwriting on photos as searchable, permanent text alongside the scanned image of the original.
When you scan back of photos and add metadata in one pass, you only have to read the handwriting once.
After that, the information lives inside the file and travels with it wherever you send it. This is where photo scanning front and back really pays off: the image and the typed transcription become a single, searchable record.
We Scan Both Sides So No Detail Is Lost
The handwriting on the back is the part of the photo that's most likely to be lost, because most scanning workflows treat it as an afterthought. Ours doesn't. We scan back of photos as standard practice on dual-sided jobs, enhance faded writing, and deliver paired files with consistent naming.
If you have a collection where the backs matter, whether for genealogy, family history, or simply because Grandma's handwriting is part of who she was, we'd love to help.
Send your collection to our secure Lodi, New Jersey facility and we'll handle photo scanning front and back, slide and negative scanning, video tape transfer, and restoration.
We scan both sides of old photos at matching resolution so the writing is just as crisp as the image, and every original comes back in the same condition it arrived.
Whether you have 50 prints or 5,000, we can scan back of photos and preserve handwriting on photos exactly the way the original writer left them. It's a small detail that becomes a big deal a generation from now.