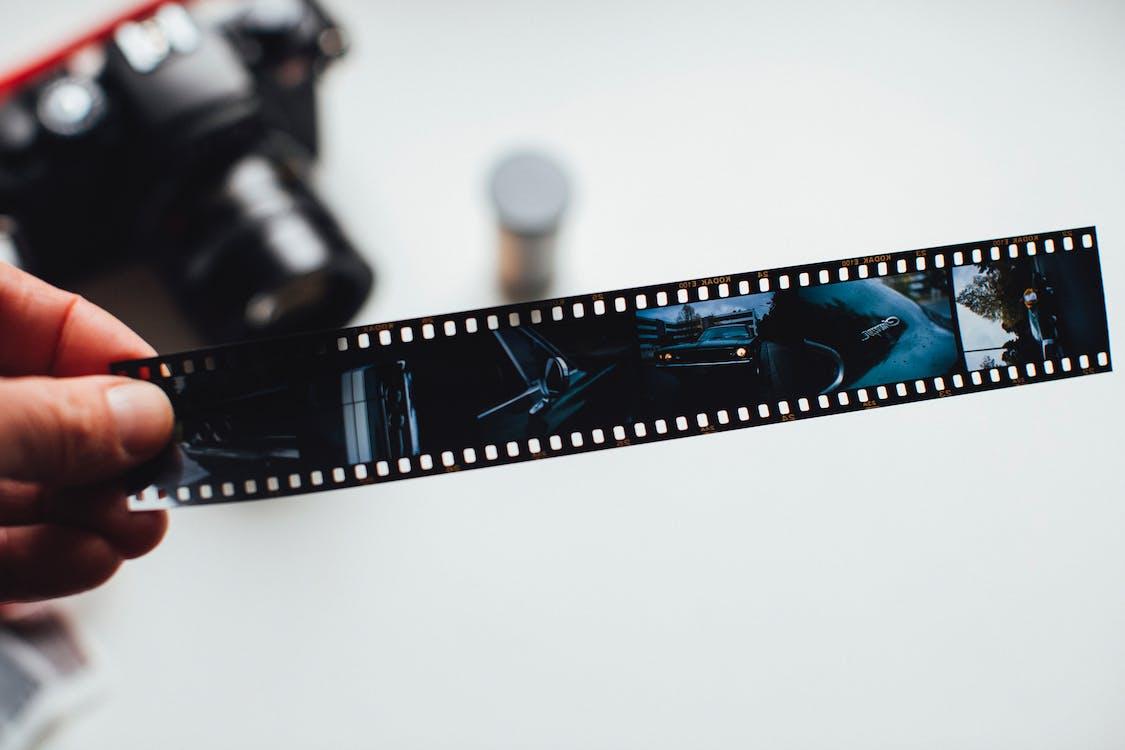
While digital cameras have made photography available to everybody. There is still a good chance that you or someone in your family has a box full of old negatives or slides stashed away. If that’s the case, it is time you digitize those film negatives and uncover some beautiful family moments. You can easily preserve these memories with professional negative scanning services that convert analog archives into high-quality digital images.
Slide Scanner
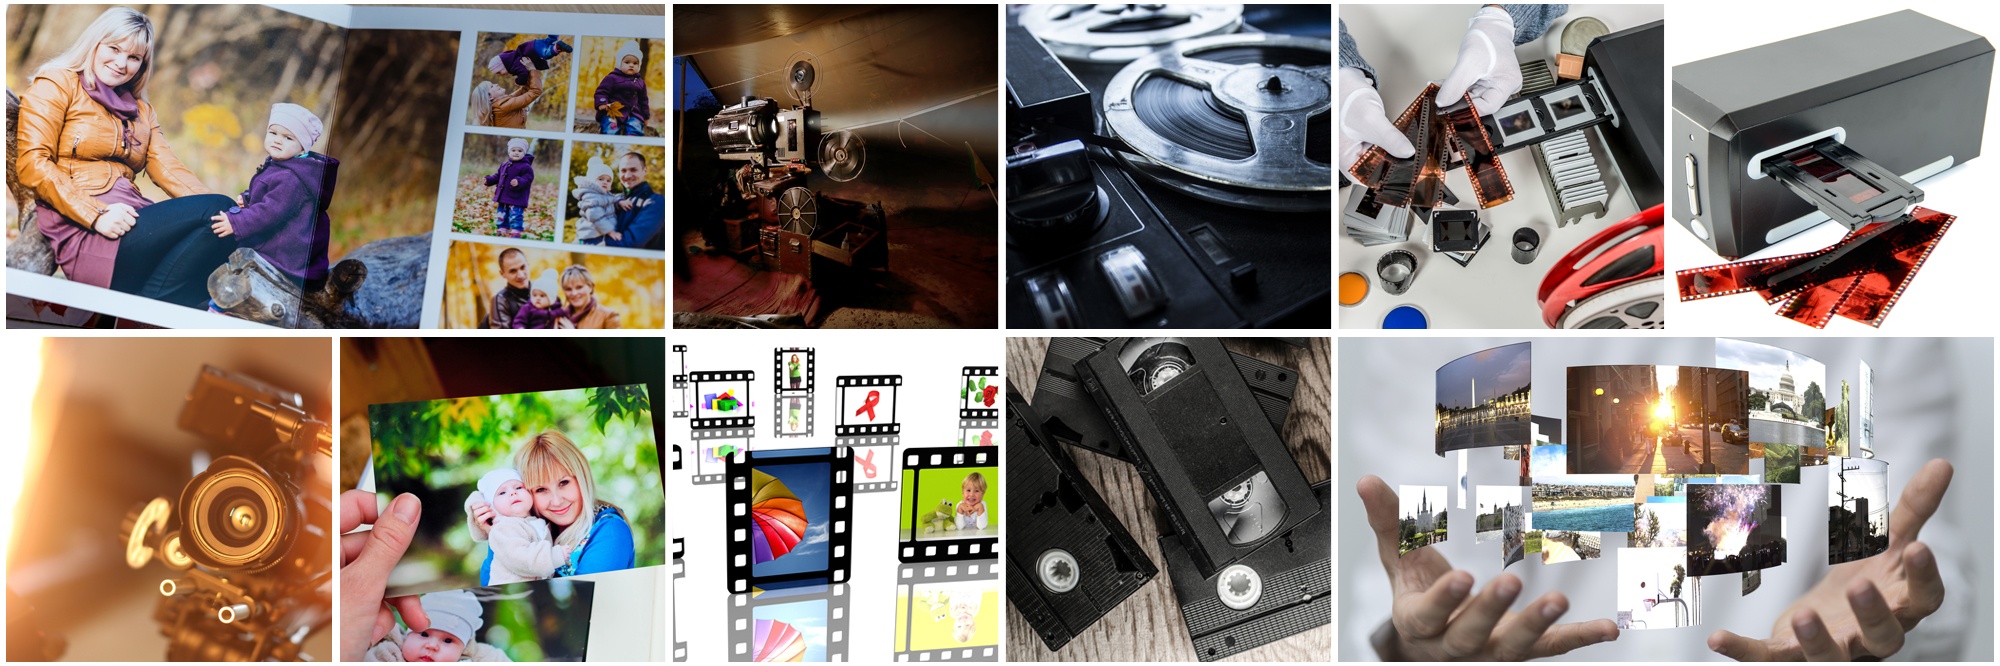
Specialized equipment, such as a slide or negative scanner, can be used to digitize film negatives. Generally, these scanners can accept up to six individual frames simultaneously as you feed a strip of film through it.
The film scanner can scan the strips or slides mechanically, storing the scanned images on your computer. Keep in mind that the slide scanner will likely come in contact with the negative when scanning. So, if you don’t keep a tight check on the scanner while it’s in use, it might accidentally harm your negative.
Not all slide and negative scanners are created equal. They can range in price from a couple hundred to several thousand dollars. If you have a small number of negatives to scan and aren’t too concerned about quality, then a cheap scanner may suffice.
If you’re looking for the best quality, then you need to purchase a scanner with a feature called Digital ICE. Digital ICE stands for Digital Image Correction and Enhancement. It uses infrared light to identify dust and scratches and fills them in with the colors of surrounding pixels. Thus, essentially removing unwanted artifacts from your images.
Laser Flatbed Scanner
Scanning a negative using a flatbed scanner can be a less expensive option. It is pretty similar to scanning a standard photograph. The film is placed on the scanner bed, and the scanning software captures the picture.
Since negative frames are very small, it is necessary to scan them at a higher resolution than regular photographs. We recommend scanning negatives at a minimum of 2,000 DPI. It allows you to make up to 5″ x 7″ prints without losing quality. High-end flatbed scanners can scan negative at a high resolution and some also have the Digital ICE feature.
Suppose you have a standard flatbed scanner at home. In that case, you can give it a shot by scanning your film negatives at the highest resolution the scanner is capable of. Still, the results may be less than remarkable. You can improve the scanned file by using photo editing software like Photoshop to remove dust or scratches.
Drum Scanner
Drum scanners are a high-end film scanner option for studios and labs. These machines provide scans that are richer in color and depth. However, we don’t suggest acquiring a drum scanner unless you intend to work on scans professionally or wish to print up huge posters from your scanned photos.
Drum scanners are expensive and unnecessary if you intend to scan to keep the negative and print the photographs for personal display.
Overhead Slide Projector
You may need to get resourceful if you own slide negatives yet lack a scanner. A quick hack is to use a slide projector to display the photos on a screen and then use digital cameras to snap a snapshot of the projected image. It’s not the ideal way to convert film negatives, but it will do in a pinch until you can get it professionally scanned
Lightbox & Macro Lens Technique
If your negatives are on film strips, you can get a bit creative to find a way to digitize them without the use of scanners. The first step is to illuminate the negative. You can do this using the lightbox. After that, you can capture the photo with your camera. Use the macro setting to ensure high-quality results.
Flare is created when too much light surrounds the negative, making it challenging to get sharp images. You can use black cardboard or a foam background to help prevent unwanted light from entering the camera while you convert film negatives to digital form.
If you want to get the full effect from your camera, you’ll need to ensure the image fills the whole film frame. Use the lowest ISO possible and a shutter speed that gives you excellent exposure, and check your settings to ensure your camera is set up correctly.
Bottom Line: Choose the Right Option for Your Negatives!
It can initially seem daunting to convert negatives to digital pictures or videos, but it’s pretty simple once you get the hang of it. However, taking up the task as a DIY project is not always the best decision considering the time and money that may go into digitizing film negatives at home.
Moreover, if you are converting negatives for the first time, there’s a chance you might end up damaging the negatives. The good news is that you can always take your film negatives to creative professionals, such as Smooth Scanning Photos if you don’t have the necessary equipment or are worried that more “creative” techniques won’t provide satisfactory results.
If you have slides and want to have them digitized, hiring professionals is probably your best bet because of the high-quality technology they use.