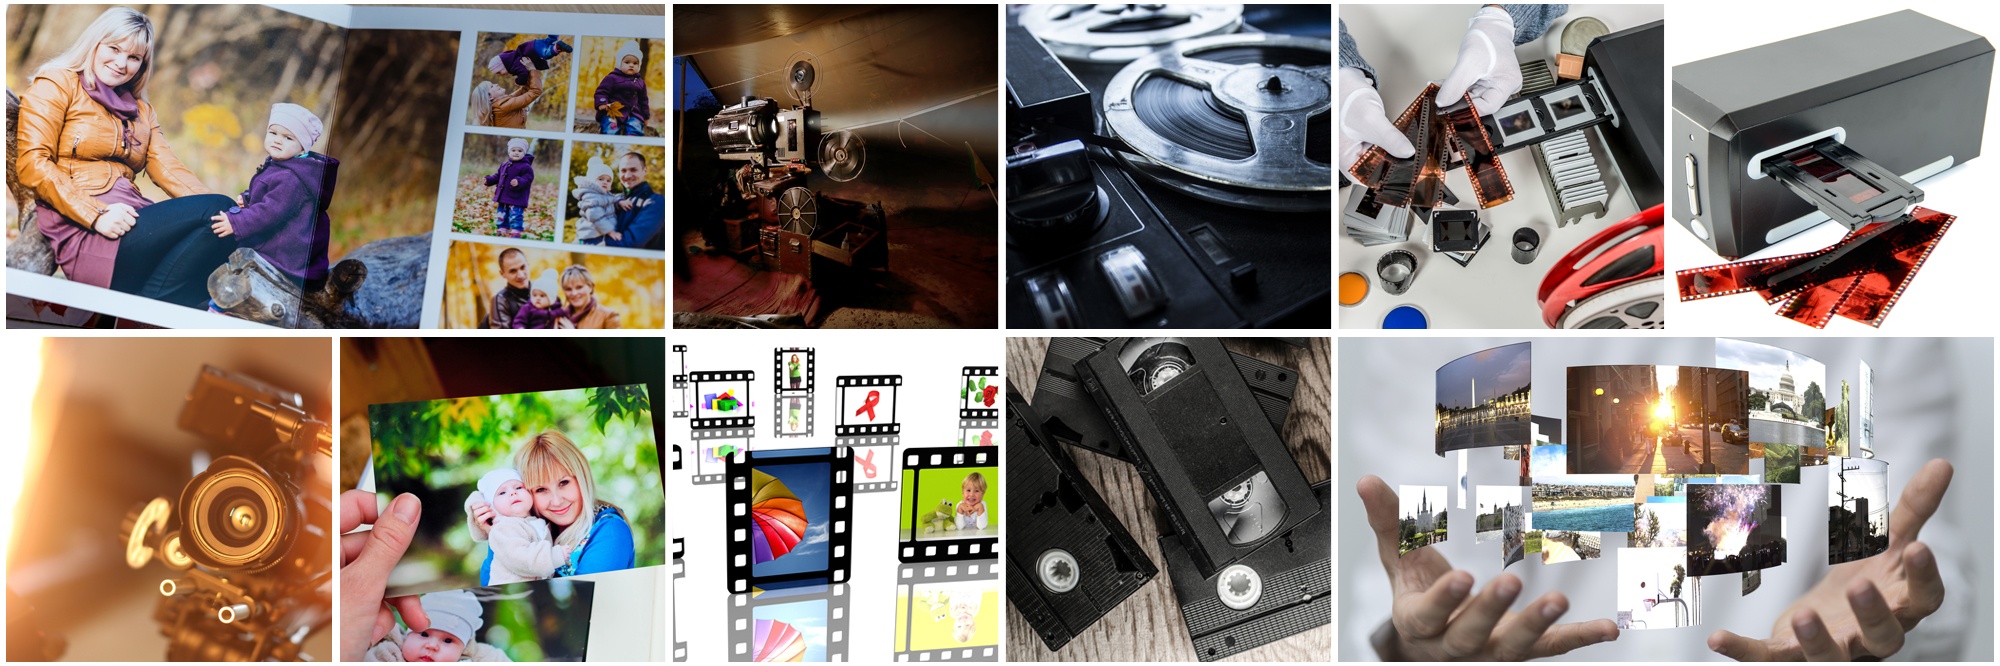
Those reels of 8mm or 16mm film sitting in your closet may look outdated, but they hold decades of family history. From birthday parties and vacations to grainy glimpses of relatives long gone, film captures moments that deserve to be seen again — and shared.
But as film ages, its quality can fade. Scratches, mold, dust, and color shifts are just some of the issues that come with time. That’s why using a film conversion service can be one of the best things you can do to preserve these memories. Whether you’re dealing with classic home movies or rare archival footage, the process to convert film to digital is more accessible — and more valuable — than ever before.
To help you get the best results, we’ve put together some practical tips for preparing your reels, understanding your options, and working with a film to digital service you can rely on.
1. Gather and Inspect Your Film
Before anything else, collect all your film reels. Most homes have a mix — 8mm, Super 8, and even 16mm film. If you’re not sure what you have, check for labeling on the reels or boxes. Older 8mm and Super 8 film can look similar, but a technician can identify the difference during processing.
Here are a few things to look out for:
- Check for damage like warped film or broken splices
- Look for mold or white powder — a sign of film decay
- Note any writing on the reels that might help organize them
The better condition your reels are in, the smoother your film digitizing experience will be.
2. Clean and Prep for the Best Quality
Many services include a cleaning step before scanning, but giving your reels a light dusting beforehand helps. Use a soft, dry cloth or an air blower to gently remove surface dust. Never use water or household cleaners, which can damage film.
Also, try to organize your reels in the order you want them digitized. If you’re planning to gift or share the files, grouping them chronologically (or by event) makes the final product easier to enjoy.
3. Understand the Conversion Process
A professional film conversion service uses frame-by-frame scanning technology to digitize your footage. That means each individual frame of your film is captured and converted, preserving the motion, colors, and sharpness as much as possible.
Services vary, but most offer:
- High-resolution scanning of 8mm film to digital, including silent and sound film
- Options to convert 8mm film to digital with basic color correction
- Professional super 8mm film to digital format with stabilization
- 16mm to digital conversion for larger reels, often used for more professional footage
You can usually choose between digital files (MP4 or MOV), DVDs, or both. Some services also include cloud storage or the ability to edit your final videos.
4. Label Your Reels Clearly
If you’re sending multiple reels, labeling them with numbers or short descriptions will help the technicians keep everything in order. For example:
- Reel 1 – “Christmas 1978”
- Reel 2 – “Camping Trip 1982”
- Reel 3 – “Sarah’s First Steps”
Once digitized, your files will likely be named or organized based on these labels. This makes it easier to watch, sort, and share them later.
5. Choose the Right Output Format
Think about how you want to access your converted videos. A film to digital service usually gives you a few options:
- USB drive: Ideal for watching on a computer or smart TV
- DVD: Good for long-term storage or sharing with relatives
- Cloud download: Great for easy sharing with family or backing up your files
If you’re planning to do any editing or want the best quality, ask to have your films transferred in HD, 2K or 4K. Some services may also offer restoration options if your film has faded colors or sound issues.
6. Share and Preserve
Once you receive your files, don’t let them sit in a drawer. Share them! You can upload clips to a private YouTube channel, create a digital slideshow, or surprise a loved one with a video tribute.
If you’re feeling creative, consider using simple editing tools to add music, titles, or captions. This makes the experience more engaging for younger family members who never saw the original events.
7. Keep the Originals
After you convert film to digital, it’s a good idea to keep your original reels in a cool, dry place. While the digital copy is the most accessible version, the original film still holds archival value. If stored properly, it can last for decades.
8. Trust Experience
It’s easy to get overwhelmed by do-it-yourself scanning options, but most people get better results working with an experienced film conversion service. With professional equipment and trained technicians, your reels get the attention they deserve — and you won’t have to worry about dust, flicker, or missing frames.
Final Thoughts
Preserving old film doesn’t have to be complicated. With a little preparation and the help of a professional film to digital service, your family footage can be watched and enjoyed again — without the projector or the worry of deterioration.
If you have reels of 8mm, Super 8, or 16mm film, don’t let them fade away in storage. Now’s the time to act. Use a reliable service to transfer film to digital, and give your memories the long life they deserve.
Ready to relive your family’s best moments?
Don’t let your family history fade away with time. Whether you have a single reel or an entire box of 8mm, Super 8, or 16mm film, now is the perfect moment to bring those memories back to life.
The team at Smooth Photo Scanning specializes in high-quality film to digital conversion, using advanced frame-by-frame scanning techniques to preserve every moment with clarity and care.
Start the process today and rediscover the stories waiting on your shelves.