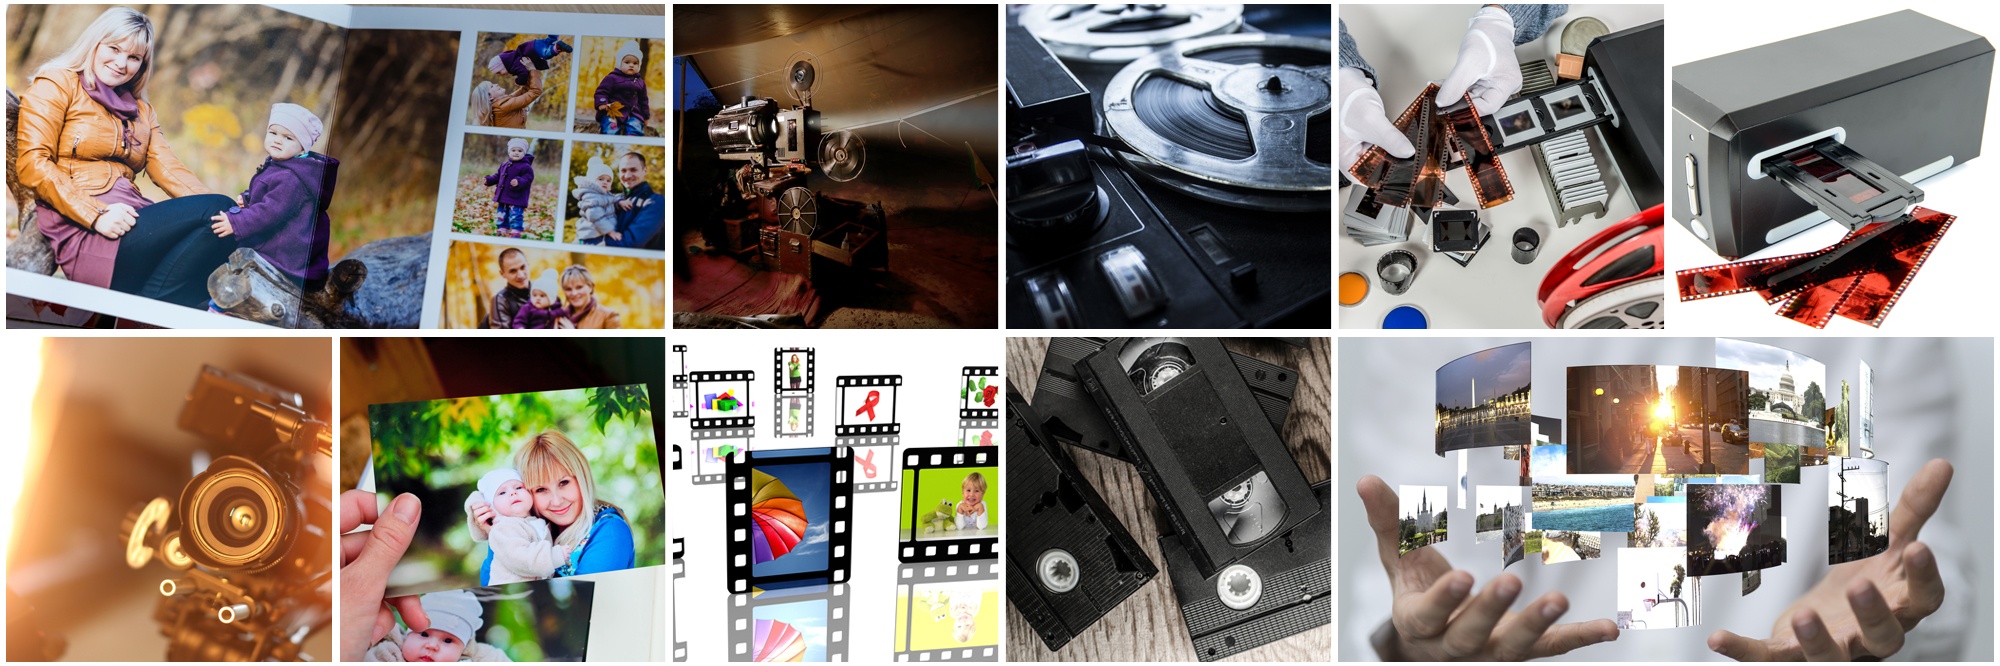
Do you have decades’ worth of memories tapped on VHS? Transferring them to digital files can be a time-taking and overwhelming task. It’s not as simple as scanning in photos or negatives. It can be tough to find a VCR capable of playing the tapes, let alone converting them.
Moreover, many home movies show signs of degradation, making it challenging to get clear footage. Therefore, hiring a VHS to DVD service is best to handle the task from start to finish. They can help you jump from VHS to digital and polish up your footage.
Whether you decide to hire professional services or digitize your VHS tapes at home, it is essential to know your options. Read on to learn everything you need to know about digitizing VHS tapes.
Digitizing VHS Tapes at Home: What You’ll Need
Converting VHS tapes can be a fun endeavor if you have the time. However, you may have to hunt some equipment before you can start. You’ll need the following to get the ball rolling:
- VCR/Camcorder: Almost any video cassette recorder will do the job adequately, though there are certain high-end models that produce a higher quality output. The most important feature to look for is a built-in Time Base Corrector or TBC. Most models will feature both video and audio composite ports. On the other hand, camcorders are more suited for playing mini-sized cassettes (VHS-C tapes) than traditional VCRs. You can also find adapters to play VHS-C tapes on a standard VCR.
- Video Converter: Connecting a videocassette recorder to a personal computer requires a video converter. This handy little device can transform your computer’s analog video signal into a digital USB input. Countless video converters are available on the internet. Opt for one that ensures straightforward installation and reliable software.
- Storage Space: Each hour of video takes up 3 to 4 gigabytes of hard drive space. . Your family’s movie collection, barring a truly enormous collection, may fit on a 32GB or 64GB USB flash drive. Keep them in the same place as your other data files and update them using a cloud service.
In addition to these items, you will need a computer or laptop with a USB port. Try out any new equipment you purchase as soon as it arrives, so you may ask for a refund if necessary.
Always try out a new purchase using a blank cassette. That way, if the first tape you place into the VCR or camcorder is messed up, you won’t lose anything crucial.
How to Convert VHS Tapes to Digital Videos in 8 Steps
Digitizing VHS tapes is easy once you have all the tools to convert your first video. Here’s how you can do it in eight easy steps.
1. Install the video converter software and any required device drivers to set up your computer for video conversion.
2. Join the VCR’s audio and video outputs with the converter’s inputs. Connect the VCR’s audio and video cords to the converter’s corresponding inputs.
3. Connect the video converter’s input connectors to the source device’s output jacks using RCA-style audio and video cables. These cables are typically color-coded. Use red and white wires for stereo audio and yellow for video. For improved picture quality use an s-video connection.
4. Connect the converter to the computer through USB.
5. Load a VHS tape and wind it back up.
6. Fire up the video capture program and follow the on-screen prompts. Typically, you’ll give your video project a name and choose a location to save the final product.
7. When you’re ready, start recording by pressing Play on the VCR and the corresponding Record button on the computer’s video software. The videotape will play and record in real-time. So, if the original tape is two hours long, the conversion to a digital video file will also take two hours.
8. When you’re finished, pause the recording and let the computer store the file in a designated location.
Once your digital files are created, store a copy in a cloud service like OneDrive or iCloud. You don’t want to risk losing your converted videotapes because of a faulty computer or hard disc!
Consider a VHS to DVD Service for Best Results
Sending your valuable reels to a VHS to DVD service provider, such as Smooth Photo Scanning, is the best option if you don’t have the time to digitize yourself or require an expert who can handle brittle decades-old tapes.
We accept videos in multiple formats, including VHS, VHS-C, 8mm & Video 8, Mini DV, Betamax, and Hi8 & Digital 8. Moreover, we understand the importance of your valuable tapes. Therefore, we handle every tape with care, offer the best rates, and provide bulk discounts.
Our experts also provide additional videotape transfer options, such as video editing service, damage repair, DVD with custom menu, on-screen titles, and more. Furthermore, every VHS tape order includes inspection and cleaning. Contact us today to learn more about our VHS to Digital service and costs.