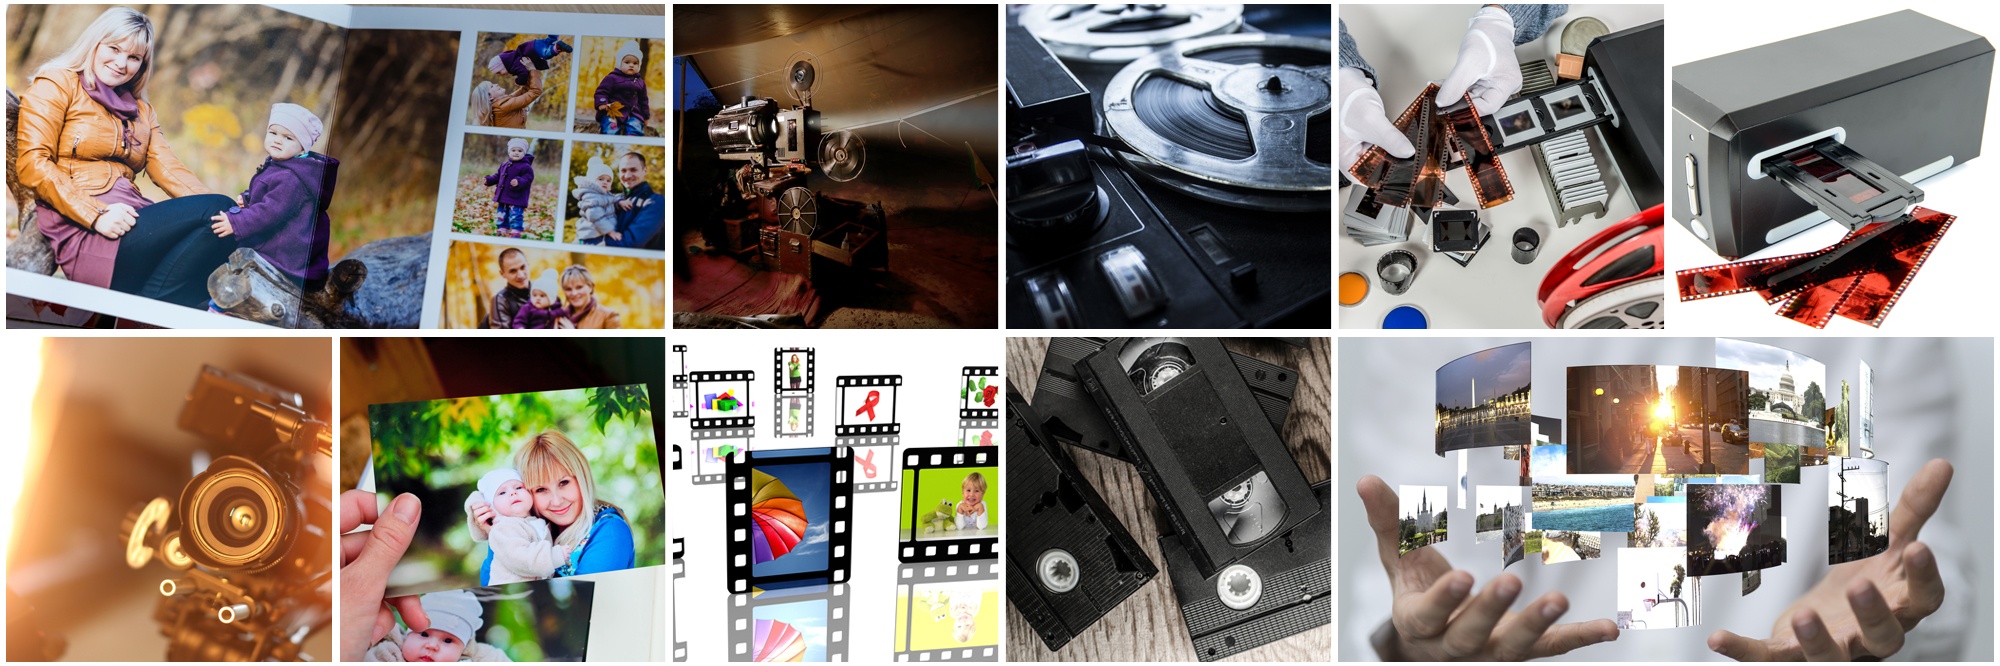
More and more people are using photo scanning to save their personal memorabilia. Even in the professional field, many offices believe it is the best way to improve shareability and preserve their image-based documents. However, before you open up Google and start searching for a photo scanning service near me need to learn more about this process.
For this reason, we have taken the time to make a small yet comprehensive guide on everything you need to know about photo scanning.
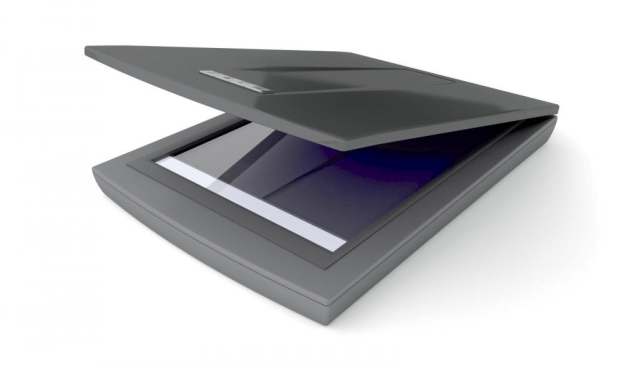
Use a Scanner, Not Your Phone
First things first, you need to use a scanner to digitize your photos. While some people believe that taking a snapshot of a picture does give scan-worthy results, scanning photos on a quality scanner are the way to go when it comes to archiving your memories. Plus, if you want to digitize negatives or slides, you can not rely on this method.
The best choice for photos is a traditional, flatbed scanner with a minimum DPI level of 300, ideally, 600 dpi or higher, However, for scanning negatives or slides, you will have to invest in a specialized scanner capable of capturing images at a minimum of 2,000 DPI, and ideally with Digital ICE functionality. Digital ICE technology automatically removes most of the specs of dust and scratches from the images of scanned film exposures.
Preparing Your Photos
- Go through your photos and remove any duplicates or pictures not worth preserving.
- Sort your photos by event, year, or other categories so they can easily be scanned and grouped together digitally.
- Make sure that the pictures are free of dust and other fine fibers, particularly when wanting to digitize negatives or slides. If you have heavily soiled prints or negatives you may want to consider getting some photographic emulsion cleaner or wipes.
- Wear light cotton gloves or latex gloves to prevent the oils on your skin from transferring to the pictures, causing grease or oil build-up.
Set Up the Scanner
Once the photos are ready, you should also take some time to prep and set up the scanner, especially if you are not familiar with the device. The following are a few things you should do:
- Clean the surface of the scanner with a lint-free cloth to ensure there are no fingerprints, hair, dust or lint, which can show up on the images.
- Test the setting of the scanner and set it to photographs, instead of documents.
- Check the color and clarity. Try scanning in 24-bit RGB color first. However, if the photograph is very old or faded, increase the setting to 48-bit.
- Set the scanning resolution to 600 DPI. This will allow you to reprint at double the size of the original without any loss of quality.
- Set, test, and adjust the auto-correct settings. If you are planning to restore or touch up the image yourself in another program after scanning, you may want to just turn off the auto-correct features.
- Set the file output format to TIFF or JPEG depending on your preferences. TIFF files are technically higher quality because they are raw and uncompressed. The downside is that they are very large and can quickly take up all of your hard drive space. JPEG files are compressed to be smaller in size and are therefore more versatile.
Editing Your Scanned Photos
Once you are done scanning your old photos, there are some additional steps you can take to enhance them:
- Your scanned photos will likely have a border around them and will not be perfectly straight. Cropping and de-skewing your images are two things that can be done fairly easily and are worth the extra effort.
- Most scanned pictures, slides, and negatives can benefit from some correction and enhancements. Adjusting the color, contrast, exposure, and red-eye removal can be done easily enough as an automated process.
- When it comes to removing creases and blemishes or other touch-ups, that will require more skill and professional photo editing software such as Photoshop. For important photos that are severely damaged, you might want to consider using photo restoration services
Opting for DIY or Using Professional Services?
While scanning old photos yourself might be easy enough if you do not have that many, scanning hundreds or thousands of photos can be more of an investment than you think. First off if you do not have the proper scanning equipment at home, you will have to purchase it.
After scanning a handful of items you will realize that it is not a quick process. Digitizing negatives, slides, and photos is a tedious undertaking that can take hours upon hours of precious time. What is more, there is a steep learning curve for the software and scanner in order to get the best result.
When it comes to bulk photo scanning, the best option for most people is to use a professional service provider. They have the scanning equipment, software, and experience necessary to get the job done right. You might even end up spending less money (definitely less time) by leaving it to the experts.
If you are still searching for The best photo scanning services near me, get in touch with us. Our specialists will ensure that you get the best results!