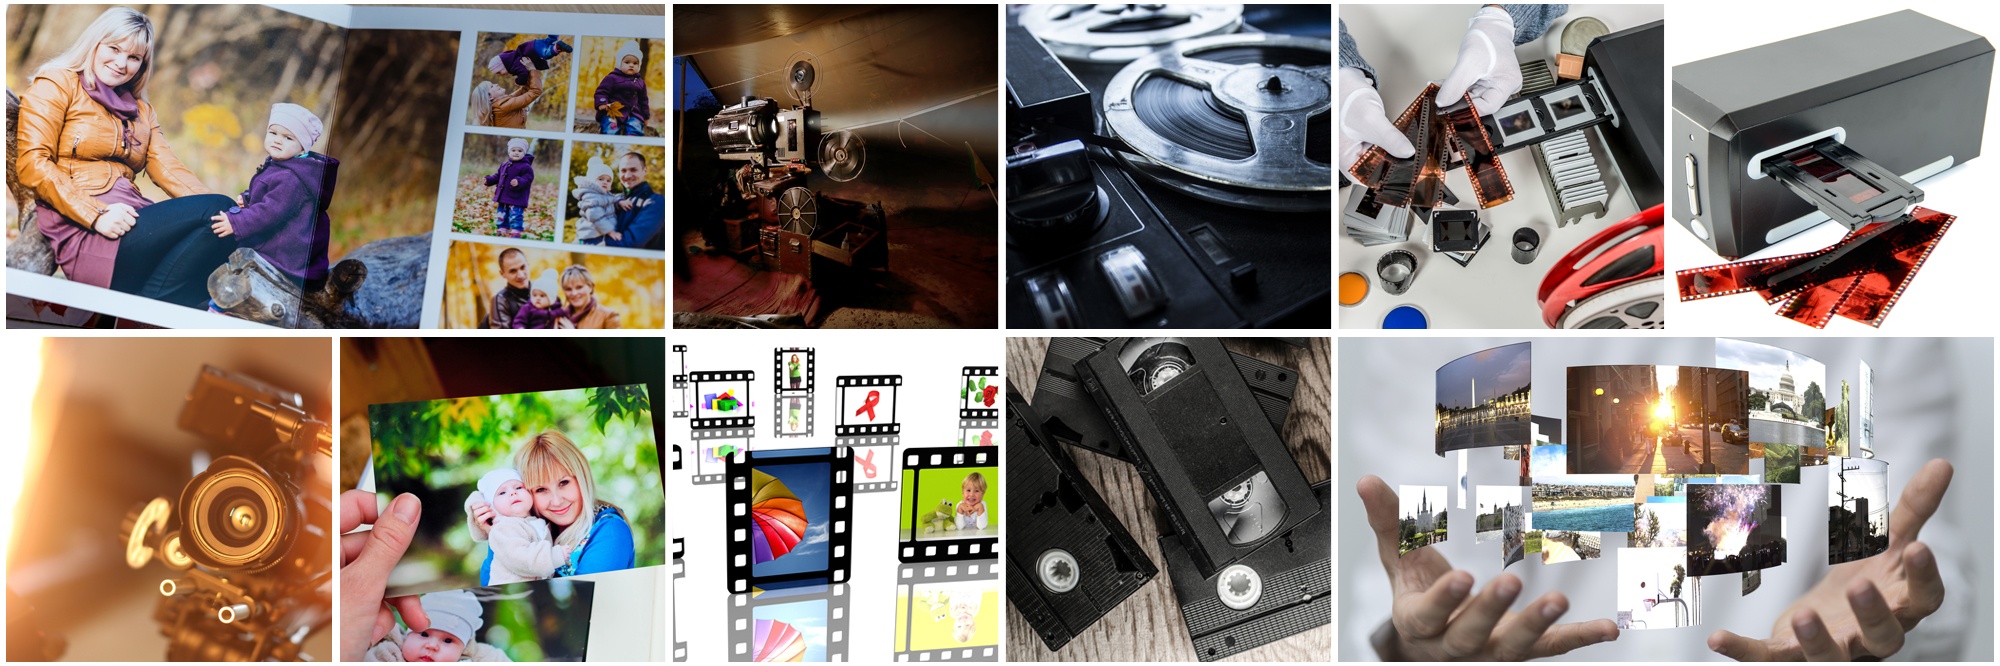
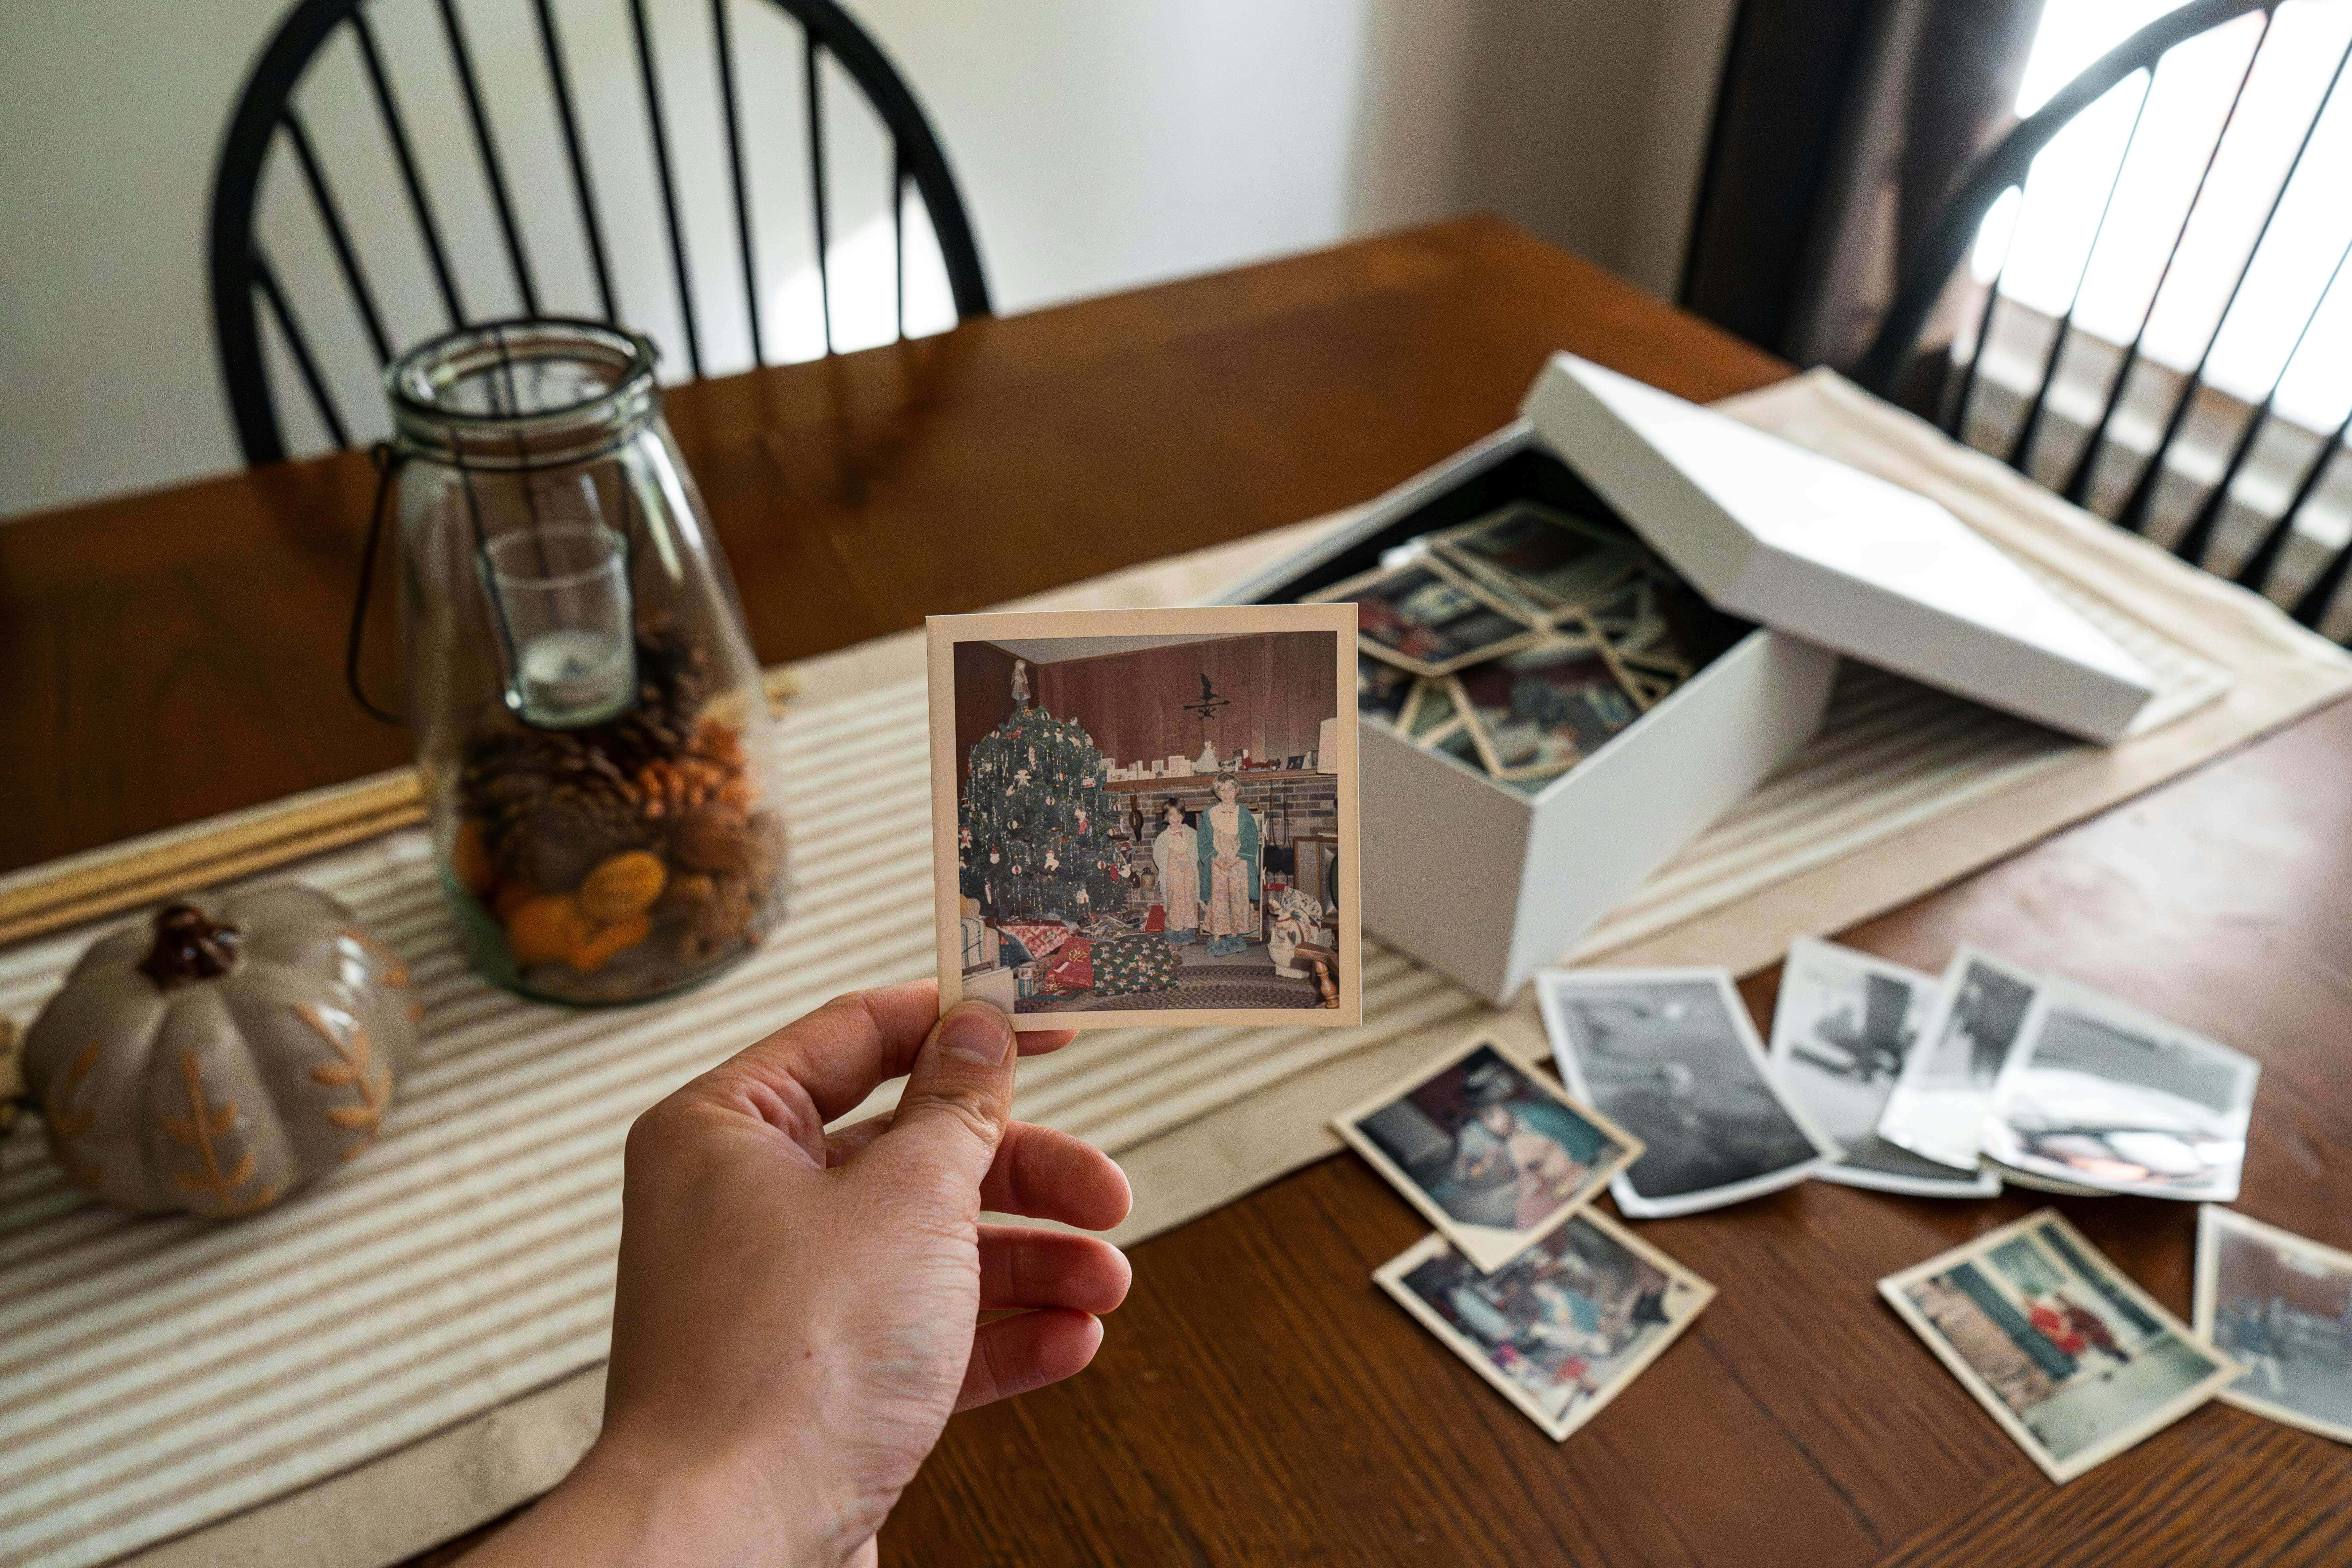
Photos are the most human layer of family history. Birth certificates tell you when someone arrived. Census records tell you where they lived.
But a faded black-and-white photograph of your great-grandparents standing outside their first home tells you something no government document ever could: what they looked like, how they stood, and how proud they were.
A family photo timeline for genealogy turns those scattered, often fragile images into a living, navigable story. Done right, it connects generations, fills gaps that written records leave behind, and gives every member of your family a sense of where they came from.
Today, we take you through the entire process, from the shoebox in the attic to a shareable digital archive.
Why Photos Are the Best Primary Source in Genealogy?
Most genealogists start with documents. That makes sense. But photographs offer evidence that documents simply cannot.
Photos reveal what records hide:
- Physical resemblance across generations.
- Fashion and clothing details that help narrow a date range.
- Background clues like storefronts, vehicles, and landscapes that pin a location.
- Group compositions that hint at family structure and social relationships.
- Emotional tone, which tells you something about the culture and era.
A well-structured family photo timeline genealogy project does not just preserve memories. It actively solves historical puzzles. Genealogy projects often begin when families digitize slides from older collections.
Step 1: Gather All Physical and Digital Photos From the Family
Before you can build a family photo timeline genealogy project, you need to know what you are working with.
Start by casting a wide net. Reach out to:
- Parents, grandparents, and great-grandparents (if living).
- Aunts, uncles, and cousins who may have inherited albums.
- Siblings who may have taken photos at family events.
- Family friends who were present at milestone moments.
- Local historical societies that may hold community photos.
Organize what you collect into four broad categories:
| Category |
Examples |
| Loose prints |
Shoeboxes, envelopes, bundles held by rubber bands |
| Bound albums |
Traditional photo albums, magnetic page albums |
| Scrapbooks |
Albums with text, memorabilia, and mixed media |
| Digital files |
Phone photos, CD-ROMs, old hard drives, USB drives |
Before you move or handle any original photograph, wear clean cotton gloves. The oils on bare hands accelerate deterioration, especially on older matte-finish prints.
Do not wait until you have everything before you start. Begin digitizing what you have now. Physical photos deteriorate continuously, and delays carry real risk.
Step 2: Date and Identify Each Photo
Once you have gathered your collection, the next task in any solid photo genealogy guide is identification. An undated, unidentified photo has limited genealogical value. A dated, captioned photo is priceless.
How to date a photo you know nothing about?
| Method |
What to Look For |
| Clothing and hairstyles |
Consult fashion history databases to narrow the decade |
| Photographic format |
Daguerreotypes (pre-1860), tintypes (1860s-1890s), cabinet cards (1870s-1900s) |
| Studio imprints |
Many photographers printed their address on the back; cross-reference city directories |
| Background details |
Vehicles, signage, architecture, and appliances can all anchor a date range |
| Paper and color |
Sepia tones suggest pre-1940s; Kodachrome saturated colors suggest 1950s-1970s |
Tips for identifying unknown people:
- Write on the back of a print copy, never the original.
- Cross-reference faces against other photos where the person is identified.
- Use DNA genealogy services like AncestryDNA to find relatives who may recognize faces.
- Ask living family members to review photos on a video call while you narrate.
Myth Busted
Reality: Writing on the back of a photograph with a ballpoint pen does not preserve it. The pressure from a pen can damage the emulsion. Use a soft pencil or archival-safe marker on a photocopy instead.
This step is the foundation of a good genealogy photo project. The more context you add to each image, the more powerful your timeline becomes.
Step 3: Build Your Timeline Structure
Now you are ready actually to construct your family timeline with old photos. Think of this as building the skeleton before adding the flesh. Historical archives improve when you restore family photos before cataloging.
Choose a timeline format that fits your scope:
| Format |
Best For |
| Linear single-family |
Following one direct line (e.g., paternal ancestry only) |
| Branching family tree |
Multiple family lines converging at a common ancestor |
| Event-based |
Organized around milestones: weddings, immigrations, wars |
| Geographic |
Organized by location as the family moved over generations |
The basic structure of a strong family photo timeline:
- Anchor photos to specific years, not just decades. Even an estimated date range like 1923-1927 is better than nothing.
- Group by generation. Use color coding or section dividers.
- Include negative space. If there are no photos from a particular period, note it. It may indicate hardship, migration, or loss.
- Add brief captions. Full names, approximate dates, and locations. Keep them short but specific.
Step 4: Connect Photos to Records (Birth Certificates, Letters, and Documents)
A photograph without documentation is a story without a source. The most powerful genealogy photo project work happens when you anchor each image to verifiable records.
How to link a photo to a record in practice?
| Photo |
Matching Record |
What It Confirms |
| Wedding portrait, circa 1932 |
Marriage certificate, Cook County, IL, 1932 |
Exact date and location |
| Family group, circa 1910 |
1910 US Census, household of Joseph Brennan |
Name all individuals present |
| Man in uniform, circa 1944 |
WWII draft registration card |
Branch of service, approximate enlistment date |
Step 5: Choose a Platform (Ancestry, MyHeritage, Canva, and Airtable)
Your photo genealogy guide is only as useful as the tool you use to display it. Fortunately, you have strong options across a wide range of budgets and technical skill levels.
Platform comparison:
| Platform |
Best For |
Photo Storage |
Collaboration |
| Ancestry.com |
Traditional family trees with records integration |
Yes, unlimited |
Family sharing is built in |
| MyHeritage |
Colorization and facial recognition tools |
Yes |
Yes |
| FamilySearch |
Free option with a strong records database |
Yes |
Yes |
| Canva |
Visual, print-ready timeline design |
Yes |
Limited |
| Airtable |
Structured database-style organization |
Yes (linked) |
Strong team features |
| Google Photos |
Simple chronological display |
Yes |
Album sharing |
Things to consider when choosing your platform:
- Will you be sharing this with elderly relatives who need a simple interface?
- Do you plan to print a physical book version for family reunions?
- Is records integration important, or are photos the primary focus?
- Do you need to collaborate with relatives in other states or countries?
Many genealogists use two platforms simultaneously: a database platform like Ancestry for records integration, and a visual tool like Canva or Adobe Express for creating printable timeline layouts.
No matter which platform you choose, the quality of your scanned images will determine how good your family timeline with old photos looks in the final product. Low-resolution scans look blurry when enlarged; high-resolution scans give you flexibility for any output format.
Step 6: Share Your Timeline With Living Relatives
The best genealogy photo project is one that grows. Sharing your work with living relatives accomplishes two things: it validates your research, and it often surfaces photos and information you did not know existed.
Strategies for sharing effectively:
- Create a private shared album on Google Photos or iCloud that family members can add to.
- Email a PDF preview to relatives before asking them to contribute, so they understand the project.
- Host a family reunion viewing where you present the timeline and ask for live identification of unknown faces.
- Print a physical booklet for older relatives who are not comfortable with digital tools.
- Record video interviews with elderly family members as they look through the timeline.
Why High-Resolution Scans Are Essential for Genealogy Work?
Everything in this guide depends on one foundational decision: how well you digitize your originals before you start building.
The core problem with low-resolution scans:
A photo scanned at too low a resolution looks fine at thumbnail size. But the moment you zoom in to read a surname embroidered on a uniform, or to identify a building in the background, the image turns pixelated and unusable. For genealogy work, detail is everything.
DPI guide for genealogy projects:
| Resolution |
Best For |
Enlarge Capability |
| 300 DPI |
Digital sharing, standard reprints at original size |
No enlargement without quality loss |
| 600 DPI |
Detailed editing, reprints up to 2x original size |
Good for most genealogy work |
| 1200 DPI |
Maximum detail, reprints at 4-6x original size, archival quality |
Ideal for small originals like wallet photos |
For a family photo timeline genealogy project, 600 DPI is the recommended minimum. If your originals are very small, like wallet-size prints, school photos, or locket portraits, 1200 DPI captures significantly more detail.
Why professional scanning matters?
| DIY Flatbed Scanner |
Professional Scanning Service |
| Inconsistent color balance |
Color correction and enhancement included |
| Manual handling risk |
Experienced technicians handle each photo individually |
| Time-intensive for large collections |
Handles large collections efficiently |
| No quality review process |
Quality control team flags and rescans poor results |
| File naming is manual and error-prone |
Custom folder naming and organization included |
At Smooth Photo Scanning, every order includes color correction and enhancement, rotation and cropping, custom file folder naming, and a free DVD or download link for your finished files.
Orders over $250 include free shipping. For orders over $500 within the NYC Tri-State Area, free pickup is available.
Their NJ-based facility scans every photo by hand using state-of-the-art imaging equipment. Photo albums, loose prints, scrapbooks, slides, negatives, documents, and framed photos are all handled with care.
For scrapbooks and albums that are too important to disassemble, they scan full pages while keeping your originals completely intact.
When you digitize photos for a family tree project, request 600 DPI as your baseline and 1200 DPI for any photos smaller than 3×3 inches. This gives you the flexibility to crop, enlarge, and reprint without losing the detail that makes genealogy work meaningful.
Start Your Genealogy Project With Professional Photo Scanning
Family history is not just about names and dates. It is about faces, places, and the quiet details that no census record ever captured. A great-grandmother’s expression at her wedding. The storefront behind a group of men who emigrated together. The house that no longer exists.
A well-built family photo timeline genealogy project turns those details into something permanent and shareable. You gather what survives, you give each image a name and a date, you anchor it to a record, and you build something that every generation after you can navigate.
The work takes patience. But the steps are clear, the tools are accessible, and the payoff outlasts all of us.
The one thing that cannot wait is preservation. Every year that passes without digitizing your originals is a year closer to losing them. Fading, mold, house fires, and simple misplacement claim thousands of irreplaceable family photographs every day. The best time to digitize photos for a family tree project was ten years ago. The second-best time is today.
Start with what you have. Scan it well. Build from there. Visit smoothphotoscanning.com to place your order or call to get started today.