This blog explains how to organize negative film strips before scanning, including tips for sorting negatives, preparing them for digitization, and preserving your memories with clarity and care.
Before you digitize your photo negatives, taking the time to properly organize them can make the process faster, smoother, and more rewarding. Whether you have boxes of 35mm negatives tucked away in storage or scattered strips from different decades, organizing them ensures your memories are preserved in a meaningful, accessible way.
In this guide, you’ll learn the best way to sort film negatives for scanning, how to organize negatives before scanning, and practical tips for preparing negative film strips to digitize efficiently and accurately.
Why Organizing Matters Before Scanning Film Negatives
Negatives are delicate. Over time, they degrade, fade, or become damaged by moisture, dust, heat, or mishandling. Digitizing them is the best way to preserve their quality—but only if they’re well-organized.
Here’s why organizing is essential before scanning:
🗂️ Faster Scanning: Organized negatives reduce sorting time and minimize handling errors during the scanning process.
🧠 Better Memory Recall: Grouping by event, year, or subject helps you relive moments in context after digitization.
🔖 Accurate File Naming: Clear organization allows for precise digital file labeling for easier searching later.
📦 Safe Handling: Keeping negatives in labeled sleeves or archival-safe storage prevents unnecessary damage.
Step-by-Step: How to Organize Your Film Strips Before Scanning
Follow this simple step-by-step method to organize your negative film collection.
Step 1: Gather All Negatives in One Place
Collect negatives from boxes, drawers, envelopes, or albums. Place them on a clean, dust-free surface away from sunlight or moisture. This gives you a complete view of what you’re working with.
Step 2: Handle With Gloves
Negatives are highly sensitive to oils and fingerprints. Wear clean, lint-free gloves to avoid smudging or scratching them.
Step 3: Inspect and Discard Damaged Strips
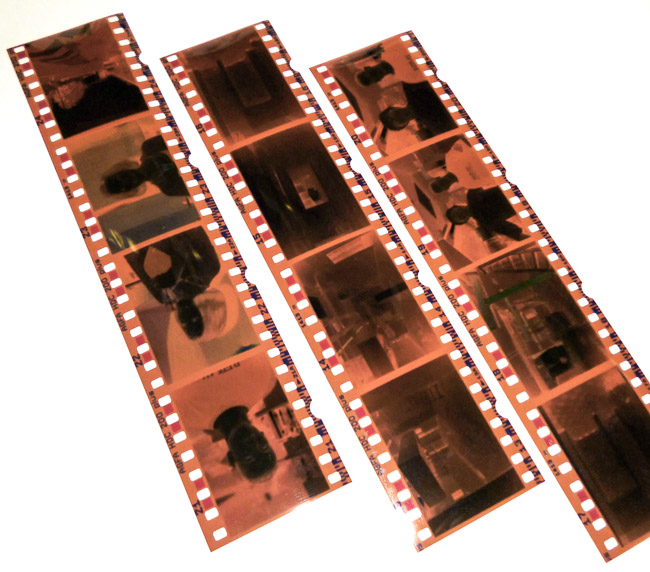
Gently examine each strip. Set aside any that are heavily scratched, torn, or molded. Some may still be scannable, but you’ll want to keep them separate.
Step 4: Choose an Organization Method
Pick one of the following systems to sort your negatives for scanning:
Chronological Order: Sort by year, season, or specific date ranges. Use this if you have timestamps or envelopes with processing dates.
Event-Based: Organize by occasion—birthdays, holidays, vacations, weddings, etc.
People-Centric: Group negatives by individuals or family groups featured in the images.
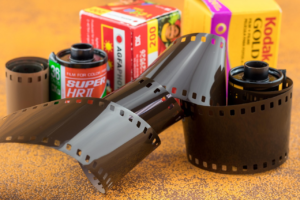
Roll Numbers or Camera Batches: If you still have original film roll packaging, group strips based on those identifiers.
Pro Tip: Use sticky notes or temporary paper sleeves to label each batch with basic info (e.g., “Summer 1994 – Beach Trip”).
Step 5: Use Archival-Safe Sleeves or Envelopes
Once sorted, insert negatives into archival-safe sleeves or acid-free envelopes. Avoid rubber bands or paperclips, which can leave marks over time.
Label each sleeve clearly with your chosen method (e.g., “1992 – Christmas”). This helps the scanning service keep everything in order.
Step 6: Create a Reference Sheet
Make a quick reference list that matches your labeled batches to their content. This helps during scanning and makes organizing digital files easier later.
Tips for Organizing 35mm Negatives for Scanning
✅ Avoid cutting film strips further, unless necessary for storage or scanning—shorter strips can be harder to scan in bulk.
✅ Store negatives flat to prevent curling or bending.
✅ Use a loupe or lightbox if you need help identifying images before labeling.
✅ Separate black-and-white from color negatives—theyoften require different scanning settings.
Why Digitizing Negatives Is Worth It
If you’ve held back from digitizing negatives because of the effort involved, now is the perfect time to reconsider.
Here’s what you gain:
🌐 Easy sharing: Send memories to family and friends in just a click.
🔍 Enhancement options: Digital versions can be color-corrected, enlarged, and restored.
🔒 Permanent preservation: No risk of fading, mold, or physical loss.
💾 Cloud backup: Store your digitized images safely online.
Let the Experts Handle the Scanning
Organizing your film negatives is a crucial first step—but to preserve them with the best quality, you need professional help. That’s where our negative scanning service comes in.
At Smooth Photo Scanning, we use high-resolution equipment and expert techniques to digitize 35mm negatives and other film formats. Our team ensures your memories are preserved, organized, and delivered in formats you can enjoy and share for generations.
From organizing assistance to final delivery, we ensure your most cherished memories are preserved in crystal-clear quality—so you can relive them for years to come.
Ready to Start?
📦 Ship us your negatives today or contact us with any questions. We’re here to help.