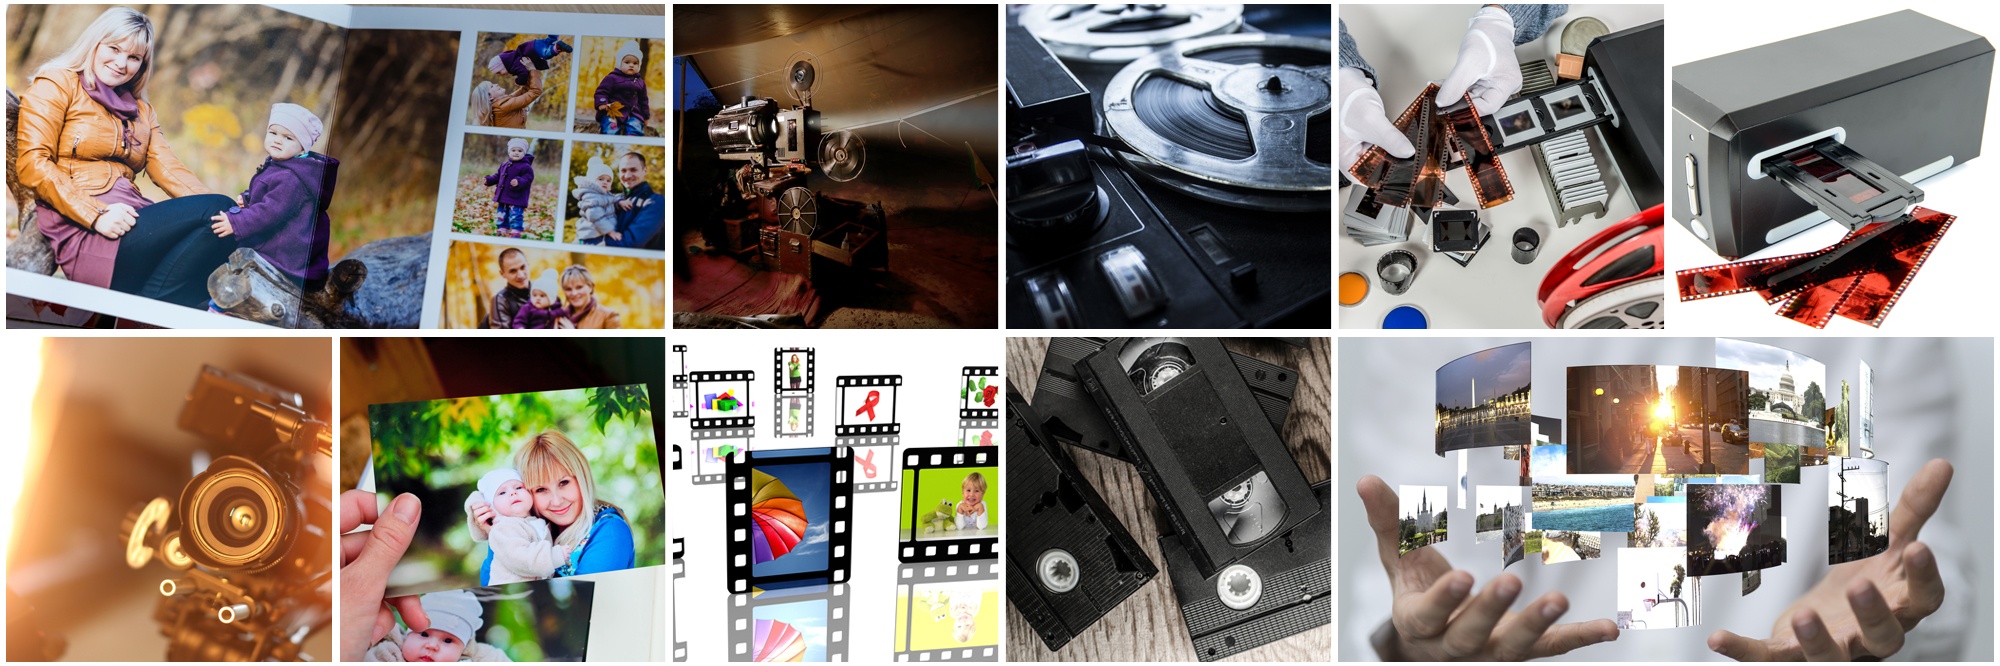
A photo legacy book is the single most powerful way to preserve your family history. Digitizing your old photos protects them from decay. Turning those digital files into a beautifully printed photo book ensures that your stories, faces, and memories survive for every generation that follows.
Hard drives crash. Cloud services shut down. USB drives get lost in junk drawers. But a well-made, printed photo book placed on a bookshelf? That can last a century.
Today, we walk you through everything you need to know, from organizing your scanned images to selecting the right paper, binding, and platform, so that your memories become something your grandchildren can actually hold in their hands.
What Is a Photo Legacy Book vs. a Regular Album?
A photo legacy book is a curated, narrative-driven printed volume that combines photographs, captions, dates, family stories, and context into a cohesive, archival-quality document.
Most people think of a photo book as a simple grid of pictures printed on glossy pages. A photo book is designed with intention, built to tell a multigenerational story, and produced at a quality level that ensures it survives decades of handling.
| Feature |
Regular Photo Book |
Photo Legacy Book |
| Purpose |
Display recent memories |
Preserve multigenerational family history |
| Content |
Photos only |
Photos, captions, dates, family stories, timelines |
| Source Material |
Digital camera or phone photos |
Scanned prints, slides, negatives, old albums |
| Print Quality |
Standard consumer-grade |
Archival, lay-flat, premium binding |
| Lifespan |
10 to 20 years |
50 to 100+ years with proper care |
| Use Case |
Personal keepsake |
Family heirloom, digitized photo book gift, estate planning |
Think of your photo book as a documentary film for your family, but in print.
Every section should answer the question:
What do I want my great-grandchildren to know about the people in these photos?
Choosing the Right Platform: Shutterfly, Mpix, Artifact Uprising, Mixbook
The platform you choose determines your design flexibility, print quality, and final cost. Each major service has its own strengths, and the right one depends on your budget, technical comfort level, and the look you are going for.
| Platform |
Best For |
Price Range (per book) |
Key Strength |
Custom Photo Book Options |
| Shutterfly |
Beginners and large print runs |
$30 to $150+ |
Frequent discounts, easy templates |
Strong, wide range |
| Mpix |
Photographers and prosumers |
$50 to $200+ |
Superior color accuracy, pro-level paper |
Limited but high-quality |
| Artifact Uprising |
Premium heirloom books |
$99 to $400+ |
Lay-flat binding, matte paper, archival quality |
Elegant, editorial feel |
| Mixbook |
Highly customizable designs |
$30 to $200+ |
Maximum design freedom, easy drag-and-drop |
Extensive, flexible layouts |
When creating a custom photo book from scanned photos, Artifact Uprising is widely regarded as the gold standard for archival quality. Their lay-flat binding allows photos to span two pages without losing detail in the spine.
Mpix is an excellent choice if you have had your photos scanned at 600 DPI or higher and want true-to-life color reproduction.
For a digitized photo book gift intended for a large family event, like a reunion, an anniversary, or a milestone birthday, Shutterfly’s bulk discounts make it a practical option.
Mixbook is ideal if you want pixel-level control over your layout and are comfortable spending time on design.
Myth Busted
Myth: The most expensive platform always produces the best quality.
Reality: Print quality depends far more on your source image resolution than on which platform you choose. A low-resolution scan will look blurry and pixelated, no matter which premium service you use. Start with the right resolution, and most good platforms will deliver excellent results.
How to Organize Your Scans Before Designing?
Organize first, design second. The biggest mistake people make when building a photo book from scanned photos is jumping into a design platform before sorting their images. Disorganized source files lead to disorganized books.
Here is a proven step-by-step workflow for organizing your scans before you open any design tool:
- Create a master folder structure. Organize your scanned images into subfolders by decade, event type, or family branch. For example: 1950s, 1960s, 1970s, or Grandparents, Parents, Childhood.
- Rename files consistently. Rename each file with a date prefix and a short description. Example: 1962_Smith_Family_Reunion_001.jpg. This makes sequencing much easier inside your design platform.
- Remove duplicates and poor-quality scans. Delete blurry, overexposed, or redundant images before importing. A tightly curated selection always produces a better custom photo book than a large, unfiltered dump.
- Create a shot list or image log. Build a simple spreadsheet listing every photo you plan to include, its file name, approximate date, location, and the names of people pictured. This becomes your caption reference.
- Group images into chapters or sections. Think of your family legacy book ideas as chapters in a book like Early Years, Marriage and Family, Children and Grandchildren, and so on.
- Back up everything before uploading. Before you upload any file to a design platform, make sure you have a local backup on an external hard drive and a cloud backup. You never want to lose your originals.
When Smooth Photo Scanning returns your scanned images, they are already organized into digital folders named by the label on each bundle or album. Use that existing folder structure as the starting point for your photo book chapters. It saves hours of reorganization time.
Writing Captions That Tell the Story, Not Just the Date
A caption is the difference between a printed family photo album and a photo legacy book. Captions are what transform a collection of images into a living family history.
Most people write captions like this: “Christmas, 1974.” That is a date, not a story. A caption should answer at least two of the following questions:
- Who is in the photo, and what is their relationship to the family?
- Where was the photo taken, and why does that location matter?
- What was happening in the world, in the family, or in that person’s life at the time?
- What do you remember about this moment, or what did someone tell you about it?
- What emotion, value, or family trait does this image represent?
| Weak Caption |
Strong Caption |
| “Grandma, 1955.” |
“Rose Mancini, age 32, on the steps of her first home in Brooklyn. She had just become a US citizen the week before.” |
| “Summer vacation, 1968.” |
“The whole family at Lake George, August 1968. Dad said this was the trip that convinced him to move the family out of the city.” |
| “Wedding day.” |
“Helen and George, June 14, 1952. They were married for 61 years. George proposed on this exact date one year earlier.” |
| “School photo, 1979.” |
“Third grade at St. Mary’s, 1979. Mom sewed that dress the night before picture day.” |
For a digitized photo book gift, strong captions are what make recipients emotional. Dates and names are forgettable. Stories are not. Interview older family members before finalizing your captions. Their recollections add irreplaceable context that cannot be recovered once they are gone.
Print Specs That Matter: Paper, Binding, Cover
The physical quality of your photo book determines how long it survives. Choosing the wrong paper, binding, or cover can mean a beautiful book that cracks, yellows, or falls apart within a decade.
Paper Types
| Paper Type |
Best For |
Durability |
Finish |
| Matte |
Text-heavy pages, vintage photos |
High, resists fingerprints |
Flat, no glare |
| Lustre |
Most photo types, mixed layouts |
Very high, industry standard |
Slight sheen reduces glare |
| Glossy |
Vivid, high-contrast color photos |
Moderate, fingerprint-prone |
High sheen, punchy color |
| Metallic |
Black and white or artistic photos |
High |
Luminous, dramatic effect |
| Archival Matte |
Heirloom books meant to last 100+ years |
Very high |
Flat, museum-quality |
Binding Options
- Lay-flat binding: The best option for a printed family photo album or photo book. Pages open completely flat, allowing two-page photo spreads without losing any image in the spine. Ideal for panoramic family photos and group shots.
- Hardcover case binding: Durable and classic. The cover is rigid and attached, making the book feel substantial and protecting the pages from bending.
- Saddle stitch: Stapled binding used for smaller, thinner books. Not recommended for a family legacy book of more than 30 pages, as it does not hold up to repeated handling over decades.
- Perfect binding: A flat spine glued binding common in trade paperbacks. Acceptable for a custom photo book, but less durable than lay-flat or case binding over long periods.
Cover Options
- Linen hardcover: A premium textile cover that gives a photo book an heirloom feel. Highly durable and resistant to moisture and UV damage.
- Leather or leatherette: Adds a formal, archival quality appropriate for a family legacy book intended for estate documentation or legal genealogical records.
- Photo cover: A full-bleed printed cover with a photo directly on the front. Highly visual and personal. Works well for a digitized photo book gift.
- Dust jacket over hardcover: Mimics a published book format. Adds a professional feel and an additional layer of cover protection.
Gifting Your Legacy Book: Ideas for Holidays and Milestones
A photo legacy book is one of the few gifts that appreciates in value over time. Every year that passes makes the history inside rarer and more precious. Here are the most impactful occasions and family legacy book ideas for gifting a printed family photo album.
| Occasion |
Who Receives It |
Custom Photo Book Angle |
Why It Works |
| Parents’ 50th Anniversary |
Parents or grandparents |
Chronicle 50 years of marriage and family |
Deeply personal, covers shared lifetime |
| Grandparent’s 80th Birthday |
Grandparent |
Decade-by-decade life story book |
Celebrates a full life with photos and stories |
| Family Reunion |
All attendees |
Multi-branch family tree book |
Creates shared history across distant relatives |
| Memorial or Estate Settlement |
All immediate family members |
Tribute and remembrance volume |
Preserves legacy after loss |
| Baby Shower or Birth |
New parents |
Family roots book for the new child |
Connects the new generation to family history |
| Holiday Gift Exchange |
Adult children or siblings |
Childhood and family origin photo book |
Universally meaningful, deeply sentimental |
| Graduation |
Graduate |
Family heritage book |
Grounds the next chapter in family identity |
Why Resolution Matters for Print Quality?
Print resolution is the single most technical and most important factor in how your photo book looks when it arrives. A photo that looks sharp on your phone screen can look soft and washed out when printed at book size, if it was not scanned at the right resolution.
Resolution is measured in DPI, which stands for Dots Per Inch. It refers to the density of pixel information in a digital image. The higher the DPI, the more detail is captured, and the more flexibility you have when enlarging and printing.
| Scan Resolution |
Best Print Size |
Best Use Case |
File Size Consideration |
| 300 DPI |
Same size as original (e.g., 4×6 prints at 4×6) |
Standard digital sharing, viewing on screens, printing at original size |
Smaller files, fast uploads |
| 600 DPI |
Up to 2x original size (e.g., 4×6 prints at 8×12) |
Photo book with larger layouts, custom photo book with full-page spreads |
Moderate file size, recommended for book printing |
| 1200 DPI |
4x to 6x original size |
Large format prints, detailed archival preservation, cropping, and editing flexibility |
Very large files, slower to process and upload |
One additional technical note, when uploading scanned images to a design platform for a photo book from scanned photos, always upload the original high-resolution file. Never use a compressed or resized version.
Most professional platforms accept JPEG and TIFF files, and TIFF files preserve the most image data for archival printing.
Get Your Photos Scanned at Print-Ready Resolution
Before you can build a photo book, you need high-quality digital files to work with. That is exactly what Smooth Photo Scanning provides.
Smooth Photo Scanning converts images into high-resolution digital files that are ready for print. Every order includes color correction, rotation, cropping, and enhancement performed by experienced scanning technicians using state-of-the-art imaging equipment.
Services available include:
- Loose Photo Scanning: Individual photos of all types and sizes, scanned and enhanced.
- Photo Album Scanning: Sleeved or mounted photos are carefully removed and scanned in order, preserving your original organization.
- Scrapbook Scanning: Full-page scans of albums and scrapbooks that are too important to separate, keeping your originals completely intact.
- Document and Negative Scanning: Letters, slides, negatives, framed photos, and more.
Start your photo legacy book the right way. Visit smoothphotoscanning.com to get your photos scanned at print-ready resolution with a scanning specialist today.