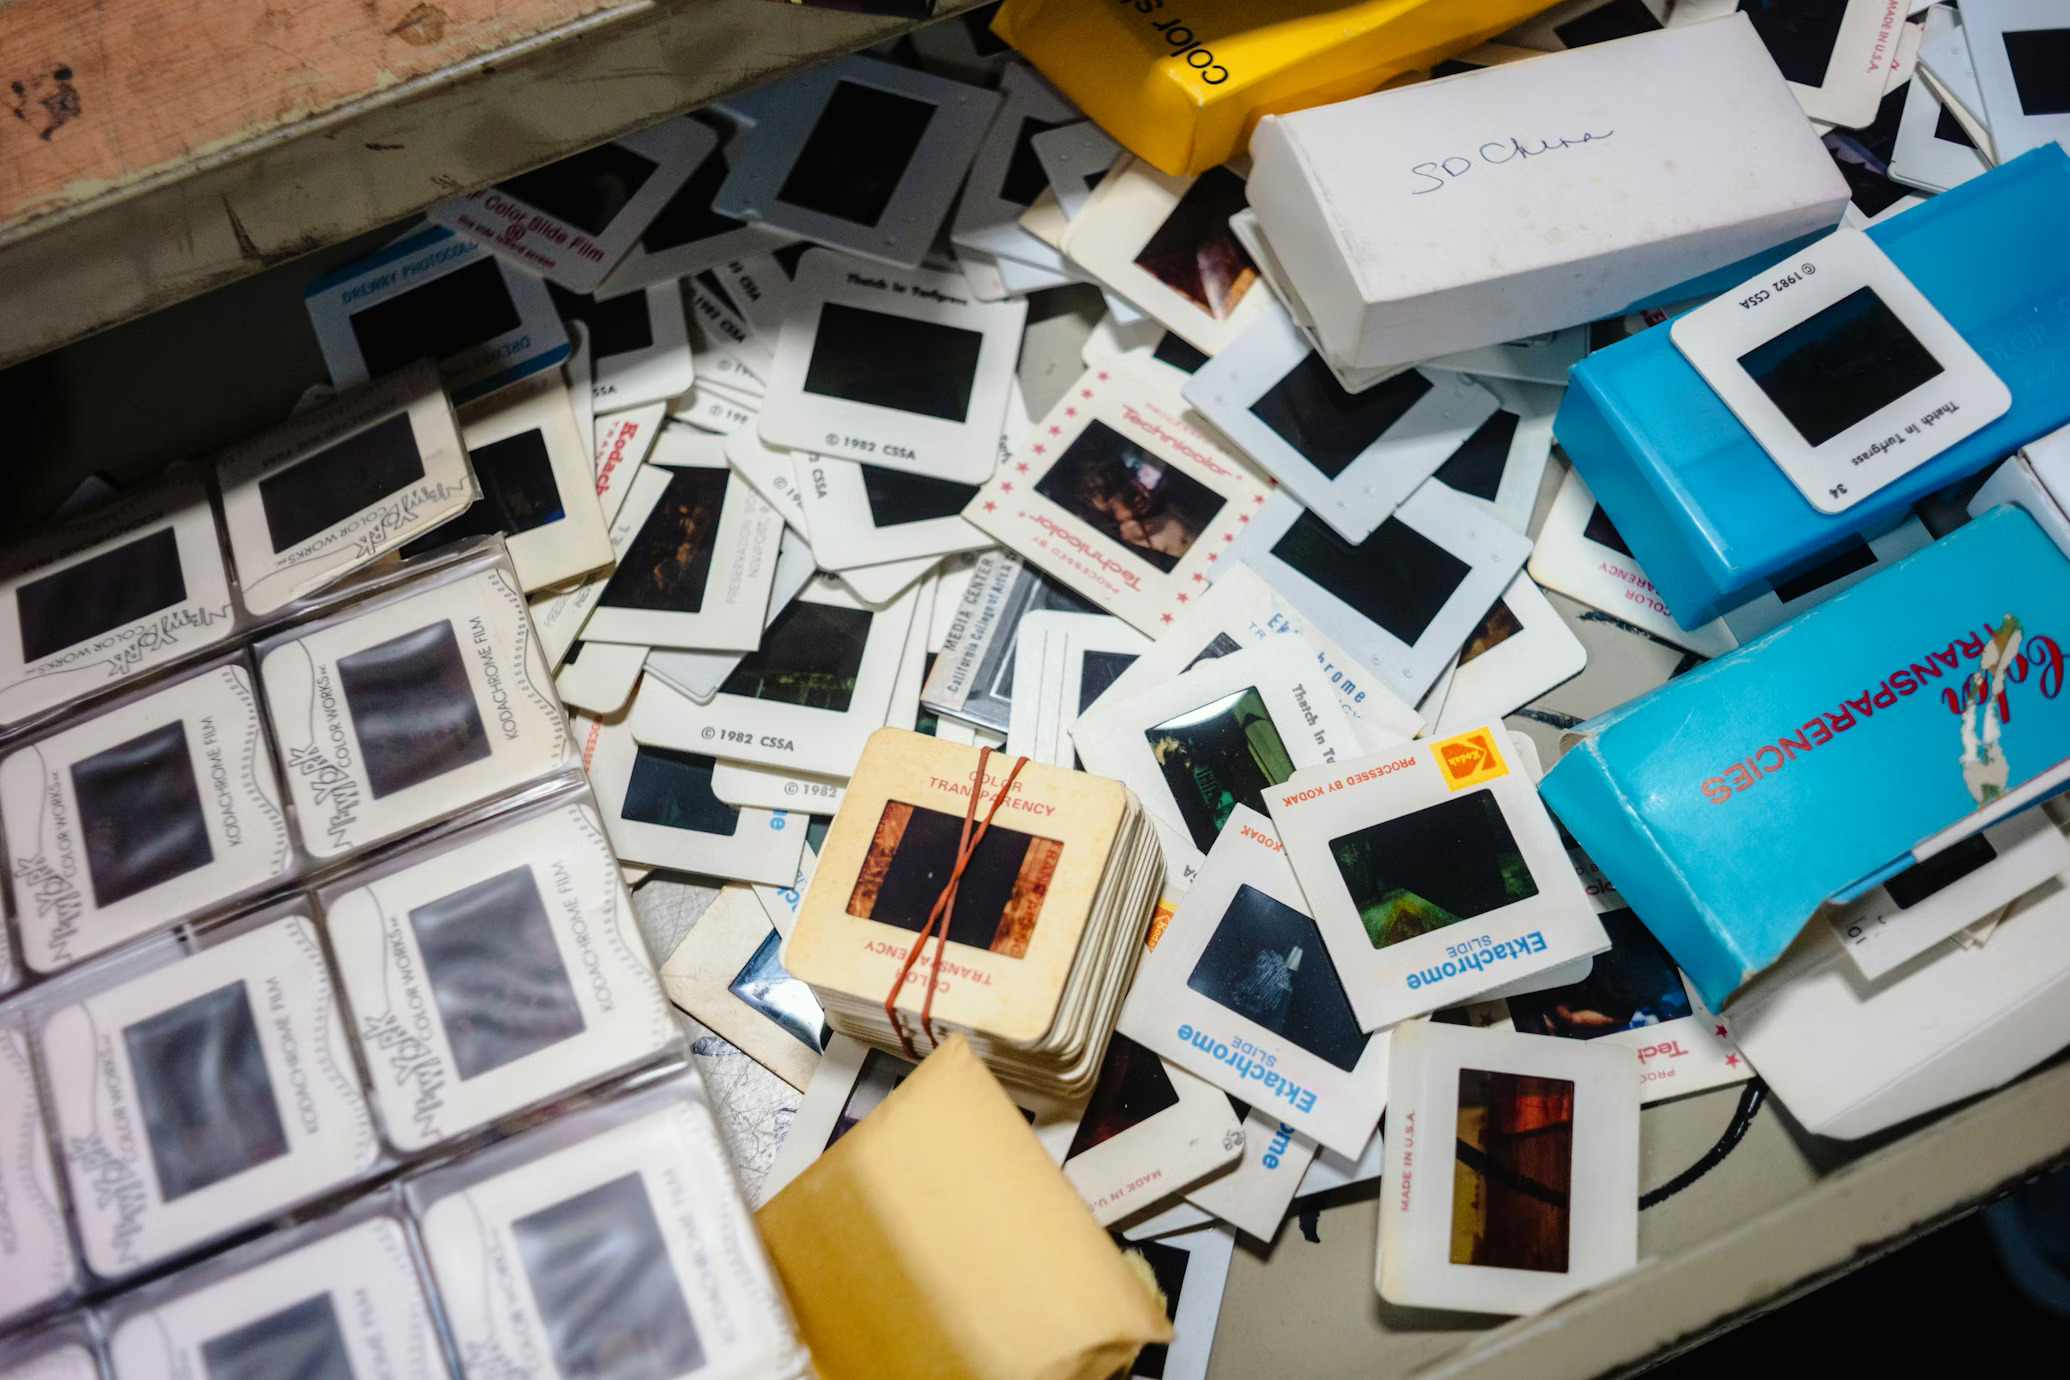
Kodachrome is one of the most celebrated color films in photographic history. Introduced by Eastman Kodak in 1935 and discontinued in 2009, it documented some of the 20th century’s most iconic moments.
Today, millions of Kodachrome slides sit in family attics, estate collections, and archival vaults, and their owners question, how do you digitize Kodachrome slides without losing the qualities that made them special?
A professional slide scanning service that understands Kodachrome’s unique emulsion structure is essential. Unlike standard E-6 slide films, Kodachrome requires careful handling during scanning because of its non-substantive dye chemistry, dense exposure characteristics, and incompatibility with common infrared dust removal tools.
Today, we explain what makes Kodachrome slide scanning different, how to preserve Kodachrome for the long term, and what to expect when you scan Kodachrome film with professional equipment in 2026.
What Made Kodachrome Different From Other Slide Films?
Kodachrome was fundamentally unlike every other color slide film on the market.
While films such as Ektachrome and Fujichrome are classified as substantive (they contain color dye couplers built into the emulsion layers), Kodachrome is a non-substantive film.
Its dye couplers were introduced during the complex K-14 development process, not embedded in the film itself.
This distinction produced several measurable advantages:
- Thinner emulsion layers. Because the dye couplers were absent from the raw film, Kodachrome’s emulsion layers were significantly thinner than those in E-6 films. Less light scattered during exposure, yielding greater sharpness and finer grain.
- Higher resolving power. Kodachrome 25 could resolve detail comparable to roughly 20 megapixels in a 24 x 36 mm frame, compared to approximately 12 megapixels for typical E-6 slide films of the same era.
- Unique dye set. The cyan, magenta, and yellow dyes formed during K-14 processing were chemically distinct from those in chromogenic films. Kodachrome’s cyan dye, in particular, absorbs infrared light, which creates scanning challenges discussed later in this article.
- Visible relief image. A properly processed Kodachrome slide displays a tactile relief on its emulsion side that you can feel with a fingernail. This physical trait is a reliable way to identify Kodachrome in a mixed slide collection.
How Does Kodachrome Age Compared to Other Slides?
One of the strongest reasons to preserve Kodachrome is its exceptional dark storage stability.
When stored in a cool, dry environment away from direct light, Kodachrome’s dyes resist fading far longer than those of any comparable slide film. Many Kodachrome slides from the 1940s and 1950s still display vibrant, accurate color today.
By contrast, E-6 films such as Ektachrome are more susceptible to dye degradation over time.
Ektachrome is well known for developing a pink or magenta color shift as its cyan dye fades faster than the other layers. This difference in aging behavior is directly related to how and when the dyes are formed in each film type.
| Characteristic |
Kodachrome (K-14) |
Ektachrome (E-6) |
| Dye coupler location |
Added during processing |
Embedded in emulsion |
| Dark storage stability |
185+ years (20% yellow dye loss) |
30 to 50 years before the visible shift |
| Common aging pattern |
Gradual overall density loss |
Pink/magenta color shift |
| Projection fade resistance |
Low (~1 hour to visible fade) |
Higher (~2.5 hours) |
| Unused coupler residue |
None (removed in processing) |
Remains in emulsion |
However, Kodachrome is not immune to aging. Slides that were stored in warm, humid environments, or slides that spent extensive time in projectors, can still exhibit density loss and subtle Kodachrome color shift.
Poor K-14 processing, especially from discount non-Kodak labs, sometimes caused murky color because dyes would bleed between layers during the re-exposure step. If your Kodachrome slides show any signs of fading, the priority is to digitize Kodachrome slides promptly before further deterioration occurs.
What Are The Scanning Challenges Unique to Kodachrome?
Even with exceptional archival qualities, Kodachrome presents technical hurdles that make Kodachrome slide scanning more demanding than scanning standard E-6 transparencies. Three primary challenges affect the outcome:
1. Dense Exposure and High Dynamic Range
Kodachrome 25 transparencies can record a dynamic range of approximately 12 f-stops (3.6 to 3.8 density units), which is significantly wider than the 8 f-stops typical of Kodachrome 64 and 200, or most E-6 films.
This density range means that shadow areas on Kodachrome slides contain more recoverable detail, but a scanner must have sufficient bit depth and sensor sensitivity to extract it.
Consumer-grade flatbed scanners often clip shadow detail, losing the very information that makes Kodachrome special.
2. Digital ICE Infrared Dust Removal Incompatibility
Digital ICE is an infrared-based scanning technology that detects and removes dust and scratches from film during the scanning process.
It works by scanning a fourth infrared channel alongside the standard red, green, and blue channels. Dust and scratches block infrared light, allowing the software to map and correct defects.
The problem with Kodachrome is that its cyan dye layer absorbs infrared light. When a scanner’s Digital ICE system encounters this absorption, it can misinterpret image detail as a defect.
The results range from subtle loss of sharpness to complete removal of critical image areas, especially in scenes where the red channel is weak (such as underwater photography, blue skies, or dimly lit interiors).
3. Color Profiling Complexity
Because Kodachrome’s dye set differs from E-6 films, applying a standard scanner color profile designed for Ektachrome will produce inaccurate color.
Kodachrome tends toward warmer tones (rich reds and golds) with a distinctive rendering of skin tones and foliage. When you scan Kodachrome film without a dedicated Kodachrome color profile, the result often skews toward cyan or blue, especially in midtones and shadows.
Professional scanning software such as SilverFast and VueScan include Kodachrome-specific profiles, and some services use custom IT-8 calibration targets designed for K-14 processed film.
Accurate color profiling is essential when the goal is to preserve Kodachrome with fidelity to the original transparency.
What DPI Should You Use for Kodachrome Slides?
Resolution, measured in Dots Per Inch (DPI), determines how much detail your scanner captures from each slide.
Because Kodachrome’s thin emulsion and fine grain can resolve more detail than most E-6 films, choosing the right DPI is important if you want to capture everything the film recorded.
Smooth Photo Scanning offers three resolution tiers for slide scanning:
| DPI |
Best For |
Print Size Capability |
| 2000 DPI |
Screen viewing, phones, tablets, TVs |
Up to 5″ x 7″ |
| 3000 DPI |
Sharper prints, moderate enlargements |
Up to 11″ x 14″ |
| 4000 DPI |
Archival quality, professional use, large prints |
16″ x 20″ and larger |
For Kodachrome, 3000 to 4000 DPI is strongly recommended. Because Kodachrome holds more resolvable detail per square millimeter than most slide films, scanning at 2000 DPI leaves captured information on the table.
At 4000 DPI, you capture the full resolving power of the film and create a digital master that supports cropping, enlargement, and long-term archiving.
This is especially important when you digitize Kodachrome slides that contain historically significant or irreplaceable family images.
Kodachrome vs. Ektachrome: Does Scanning Differ?
Yes, and the differences matter. Kodachrome vs Ektachrome scanning is not just about choosing a different color profile.
The two film types have distinct emulsion structures, dye chemistries, and interactions with infrared-based cleaning tools.
Here is a side-by-side comparison of what changes during the scanning workflow:
| Scanning Factor |
Kodachrome |
Ektachrome |
| Digital ICE compatibility |
Limited; cyan dye absorbs IR |
Full compatibility |
| Color profile required |
Kodachrome-specific (K-14) |
Standard E-6 profile |
| Typical color cast if misconfigured |
Cyan or blue shift |
Magenta or pink shift |
| Emulsion density |
Higher needs an extended dynamic range |
Standard density range |
| Dust removal method |
Manual or modified ICE |
Automated ICE |
| Grain visibility at high DPI |
Minimal fine-grainedn) |
Moderate to high |
When comparing Kodachrome vs Ektachrome scanning, the most significant operational difference is the infrared channel behavior.
A scanning provider that uses Digital ICE on all slides without differentiating between film types risks damaging Kodachrome scans.
Experienced technicians know to either disable ICE for Kodachrome, use a modified infrared profile, or manually correct dust and scratches in post-processing.
Another key difference in Kodachrome vs Ektachrome scanning is exposure handling. Kodachrome’s denser shadows require the scanner to extend its exposure time or increase sensor gain to avoid clipping.
Ektachrome, by contrast, has a more predictable and narrower density range that most scanners handle without adjustment.
What to Do if Your Kodachrome Slides Have Color Shifted?
Although Kodachrome has superior archival stability, no film lasts forever. Kodachrome color shift can occur from prolonged projector exposure, heat, humidity, or poor original processing.
The most common pattern is a gradual and even loss of overall dye density rather than the lopsided pink shift seen in aging Ektachrome. However, poorly processed Kodachrome from discount labs can show murky, uneven color where dyes bled between layers.
If you notice Kodachrome color shift in your collection, the following steps can help:
- Stop further exposure immediately. Store affected slides in cool, dry conditions (below 65 degrees Fahrenheit, 30 to 40% relative humidity) and keep them in archival-quality sleeves away from light.
- Prioritize scanning. Scan Kodachrome film that shows any visible fading as soon as possible. Every day of continued storage in poor conditions accelerates dye loss.
- Request professional color correction. When you digitize Kodachrome slides with Kodachrome color shift, a skilled technician can adjust each color channel independently during scanning to compensate for dye loss. Software tools that adjust red, green, and blue curves individually are essential for correcting uneven fading.
- Archive the raw scan as a TIFF. Save the unedited, high-resolution scan as a lossless TIFF file. This preserves the maximum amount of recoverable data for future correction as color restoration technology continues to improve.
Can You Still Get Excellent Kodachrome Scans in 2026?
Yes. Despite Kodachrome’s discontinuation in 2009 and the closure of the last K-14 processing lab in 2010, the film itself remains highly scannable with the right equipment and expertise.
In fact, scanning technology has improved significantly since Kodachrome’s peak years, which means that today’s professional scanners can extract more detail and more accurate color from Kodachrome originals than was possible even a decade ago.
What matters most when choosing a service to scan Kodachrome film in 2026:
- Scanner bit depth. Professional scanners with 16-bit (or higher) color depth per channel capture the extended density range of Kodachrome without clipping shadows or highlights.
- Kodachrome-aware workflow. The provider should use dedicated color profiles for K-14 film, adjust or disable infrared dust removal for Kodachrome slides, and have technicians trained to identify Kodachrome in mixed slide collections.
- Manual quality control. Automated batch scanning without human review is risky for Kodachrome. Each scan should be inspected for ICE-related artifacts, color accuracy, and proper exposure.
- High-resolution options. Smooth Photo Scanning offers scanning at 2000, 3000, and 4000 DPI, ensuring that Kodachrome’s fine grain and detail are fully captured. All slides are cleaned with compressed air before scanning, and Digital ICE is used where appropriate to remove dust and scratches.
The combination of advanced scanning hardware, experienced technicians, and format-specific workflows means that Kodachrome slide scanning in 2026 can produce results that are equal to or better than anything achievable during the film’s production years.
Understanding the differences in Kodachrome vs Ektachrome scanning is a baseline expectation for any qualified provider. To preserve Kodachrome effectively, every step of the process must account for this film’s unique characteristics.
Send Your Kodachrome Slides for Expert Scanning
Your Kodachrome slides contain irreplaceable images captured on one of the finest color films ever made.
Smooth Photo Scanning provides professional Kodachrome slide scanning with trained technicians, high-resolution equipment (up to 4000 DPI), and a careful workflow designed to preserve Kodachrome with the accuracy and detail these slides deserve.
Every slide is cleaned, scanned, inspected, cropped, rotated, and color-corrected as part of the standard service. All scanning is performed in-house at our secure facility in Lodi, New Jersey.
Place your order online at smoothphotoscanning.com to get started.